Serves 1 or 2
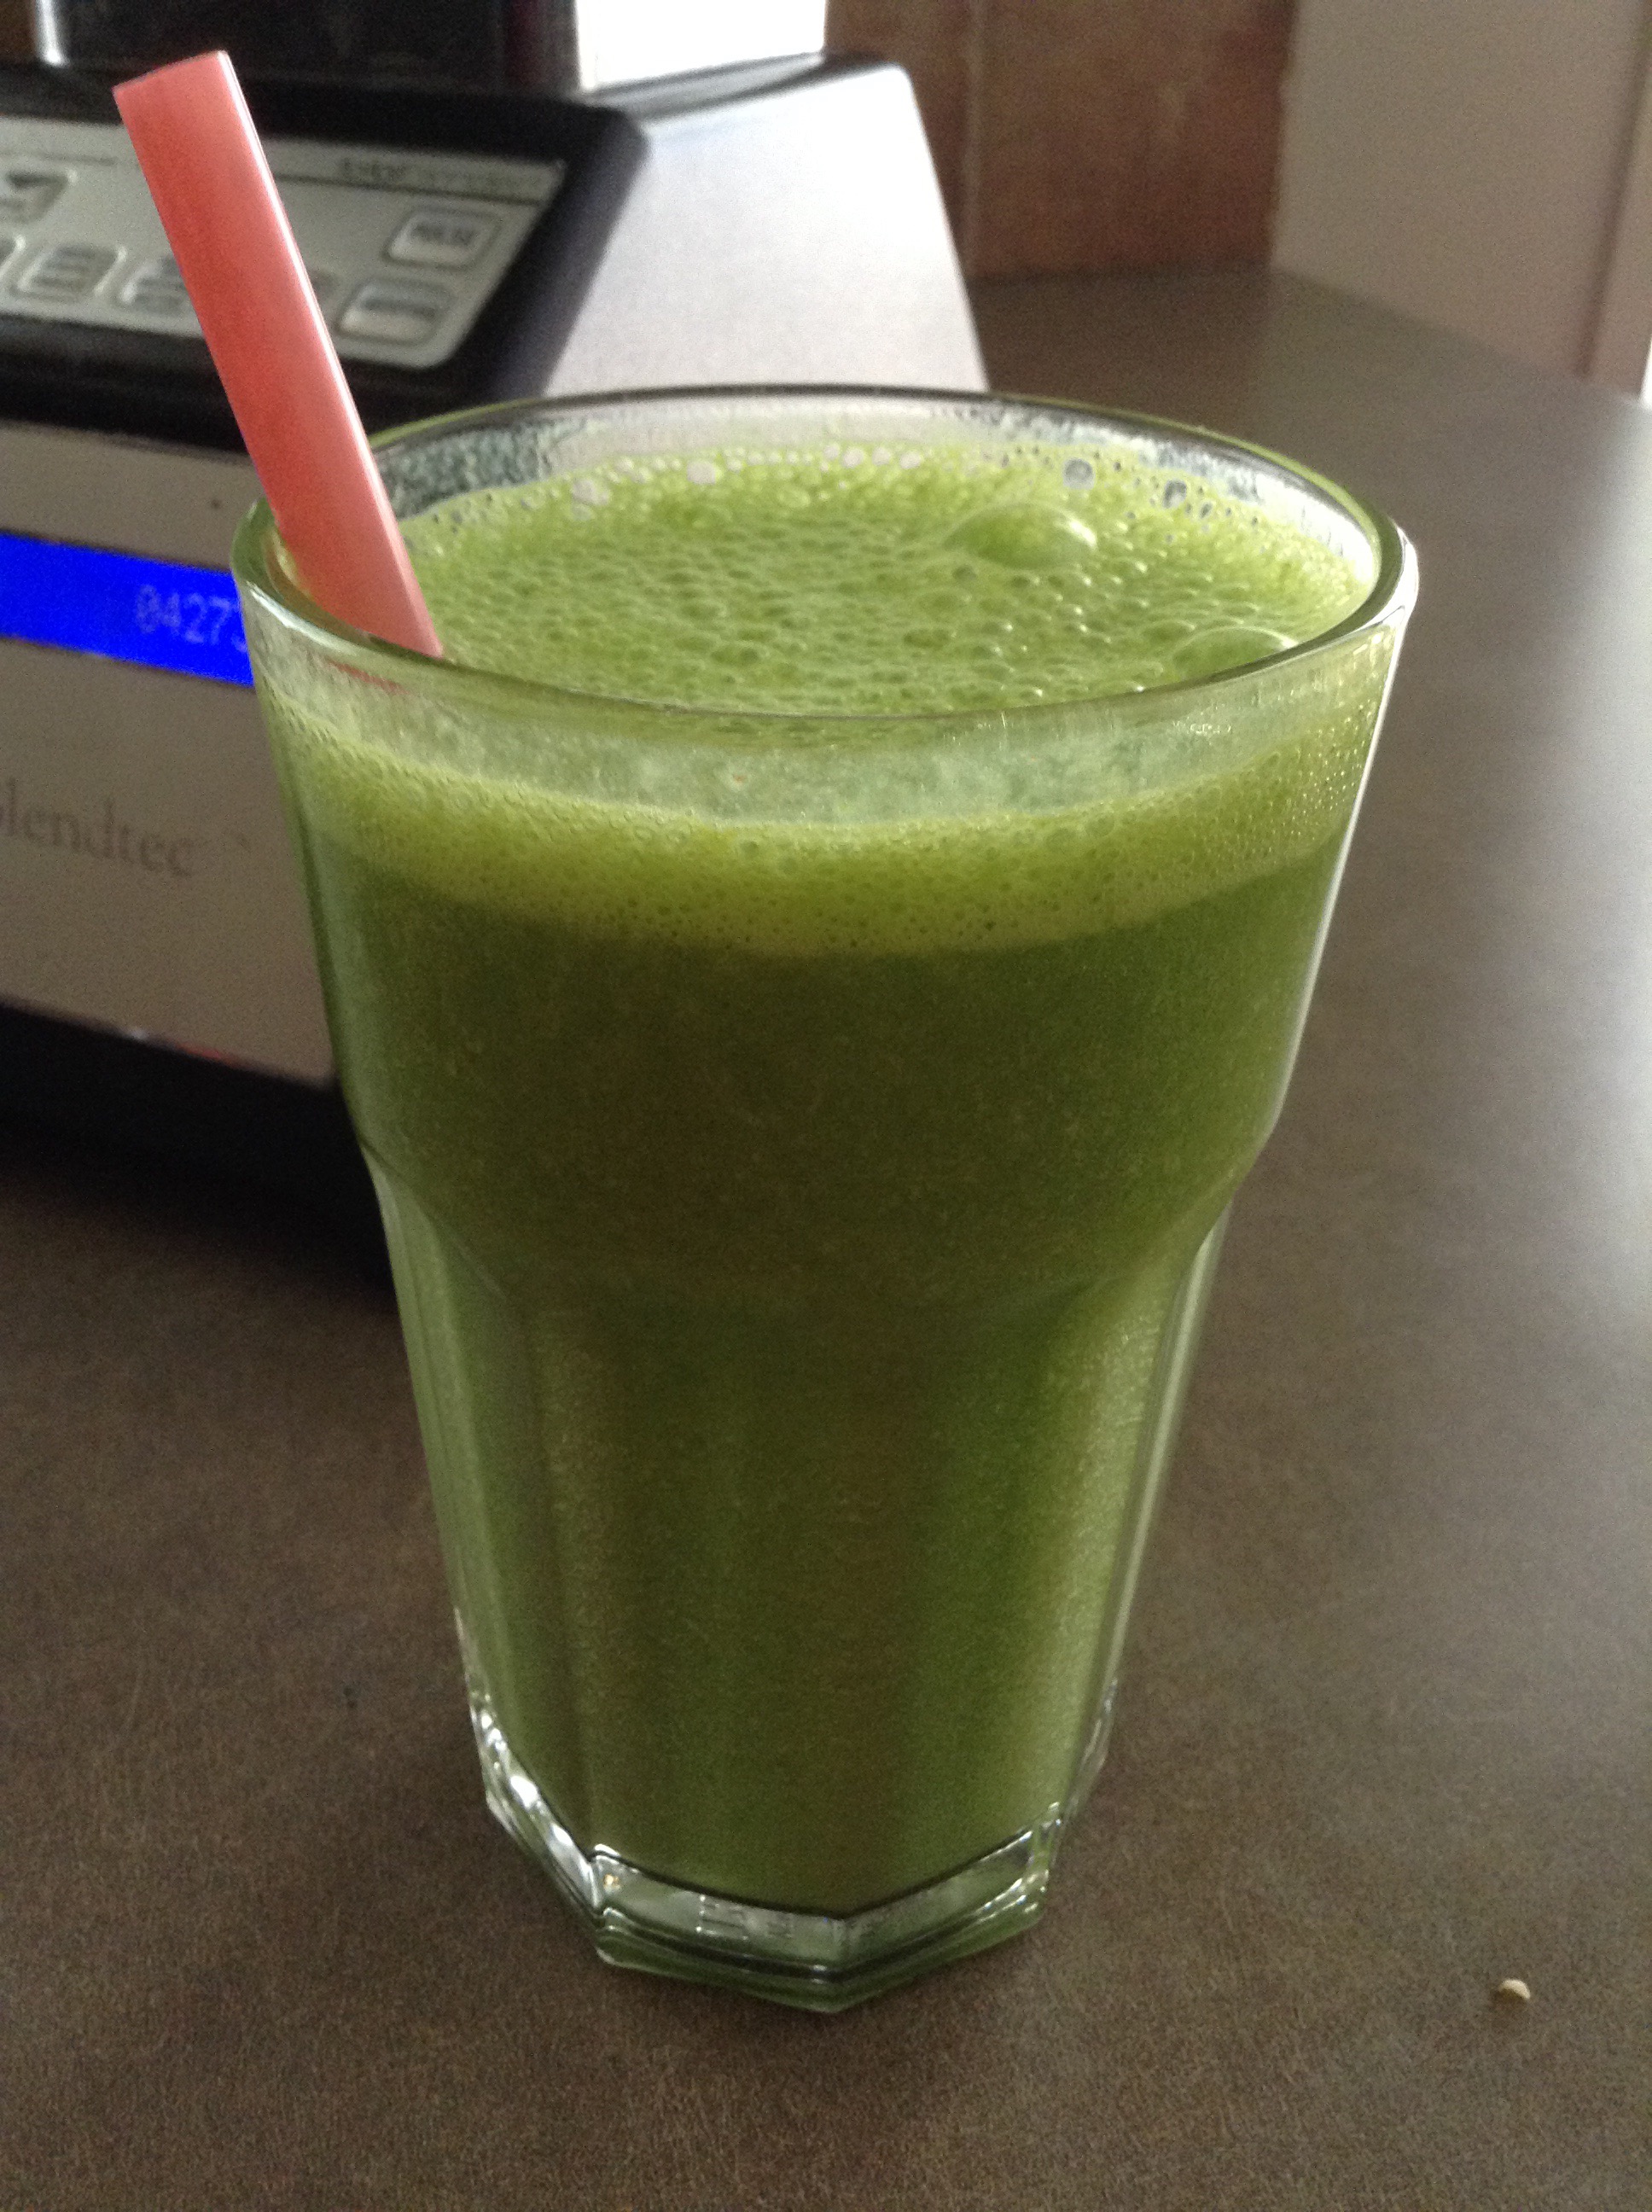
1 Orange peeled
1 banana
1 handful of spinach or other green leafy like chard, collard leaves or kale (keep in mind those greens have a more pronounced flavour, so if you’re not used to them, start with spinach)
1 or 2 pitted dates (for sweetness) I like medjool dates.
About 2 cups of non-dairy milk (I use unsweetened almond) or water
2 ice cubes
Blend until very smooth. I have a Blendtec high speed blender so I just press the ‘whole juice’ button.
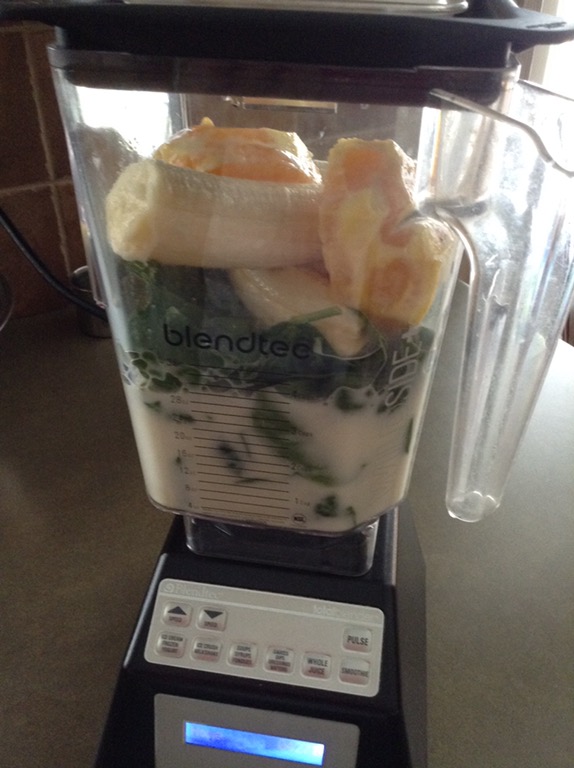


Think you don’t have time to make pancakes during the week, or even at all? Now you do😀. These are so easy and need minimal cleanup. Literally dump ingredients into your blender and turn on. They are also 100% whole grain, and no added sugar and oil. A healthy way to [...]]]>
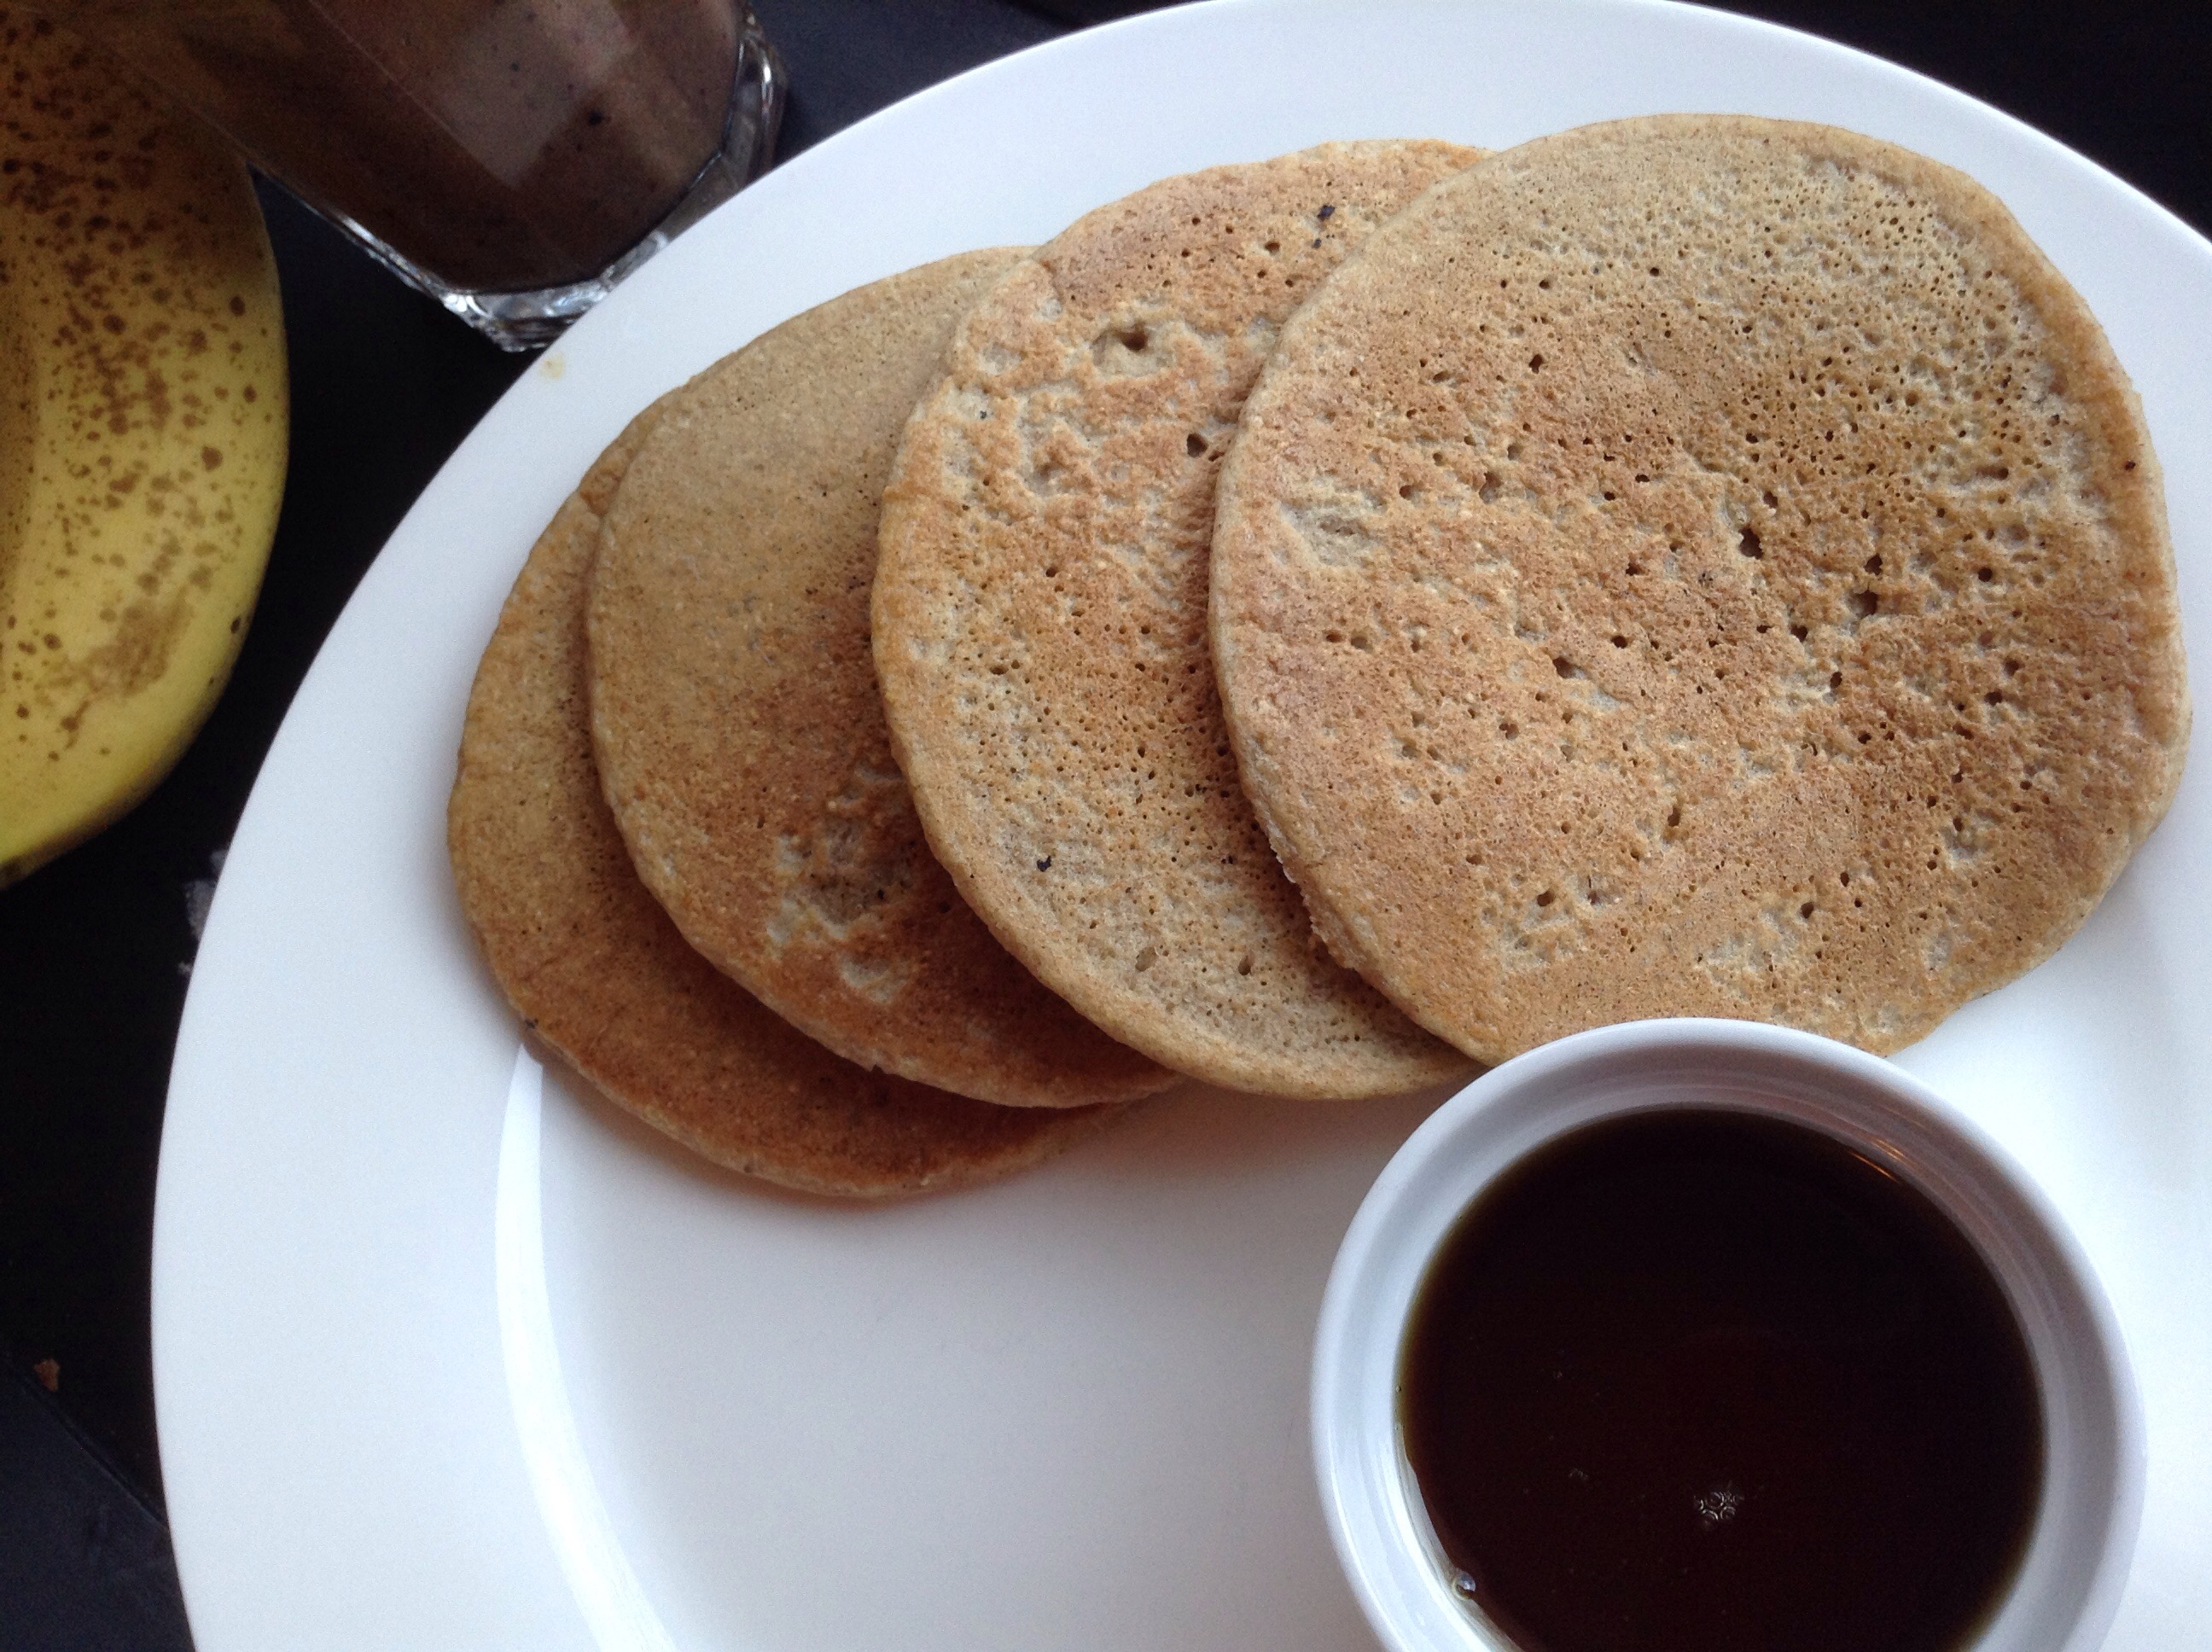
Think you don’t have time to make pancakes during the week, or even at all? Now you do . These are so easy and need minimal cleanup. Literally dump ingredients into your blender and turn on. They are also 100% whole grain, and no added sugar and oil. A healthy way to start the day. These are also excellent reheated in the toaster the next day with some nut butter and sliced banana on top.
This recipe is for a large batch so there might be leftovers. I’ve done this intentionally because they keep great in a container in the fridge for tomorrow. Reheated in the toaster with some nut butter and sliced bananas, sprinkled with hemp hearts. Instant breakfast!
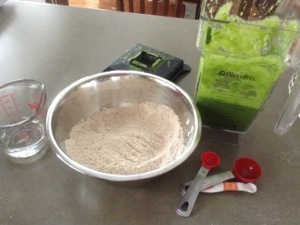
2 1/2 cups Rolled oats
1 cup Spelt flour (original recipe said whole wheat, I’m sure it would work fine)
1 Tbsp Baking powder
1-2 tsp cinnamon (I use 2)
1/2 tsp salt
1 Tbsp vanilla
3 cups unsweetened almond milk (or your fav non-dairy milk)
1 ripe banana
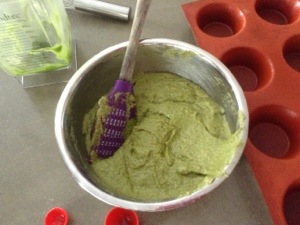
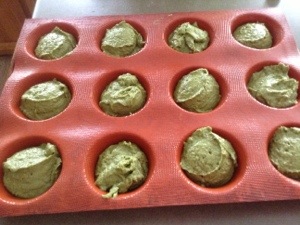
Preheat on medium heat and prepare your griddle. I use a non-stick ceramic so I just wipe a bit of coconut oil on with a paper towel. Put all ingredients into your blender except the banana. Tightly close lid and blend until mostly smooth. Then add banana and scrape down any sides that aren’t mixing. Blend again until banana is blended in. Now you can pour batter on the grill or use a 1/4 measuring cup to scoop it out.
Note at first the batter will be runnier than when it has sat for a bit. The pancakes will be thinner. It shouldn’t be too runny. If you find it is then add a tablespoon or 2 of flour. Same goes for if it sits awhile and gets too thick; a couple tablespoons of almond milk added one at a time will thin it out a bit.
This recipe varies slightly each time I make it depending on which milk I use or how big my banana is. Don’t overthink things. These are meant to be easy, fast, healthy and simply delicious!
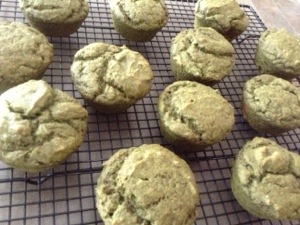
These are great with syrup, but I like to reserve that for weekends only. We like to top ours with Blueberry Chia Jam. I make batches of it during the winter with berries we have frozen from the summer. You can use any berry in the recipe and it’s a great on anything from toast to oatmeal to ice cream.
]]>
 We make traditional chick pea hummus A LOT in our house but I wanted to switch it up. So, I went searching for other hummus recipes and found tons- very overwhelming in fact. I didn’t have the time or energy to try them all out so I took a little from each of them and this dip was born. I love it so much I’ve made it for the last three days in a row and all of my daughters gave it a thumbs up-even the one who doesn’t like hummus. That’s a winner in my books!
1 1/2 cups Black beans (or one 14oz can rinsed and drained)
1 1/2 cups Chick peas (or one 14oz can rinsed and drained)
3 Tbsp Tahini
3 Tbsp fresh squeezed lime juice
1 Tbsp extra virgin olive oil
1-3 Tbsp water (depends how dry your beans and tahini are. Both mine were quite dry so I used 3 Tbsp)
Scant 1 tsp sea salt (if your beans are salted already use less)
2 tsp ground cumin
1 very small amount of minced garlic ( I used about 1/4 clove because my kids are wimps when it comes to fresh garlic, but the flavour was lovely. Not over powering at all)
Add all ingredients in a food processor, or the Blendtec twister jar as I used, and purée until smooth.
Enjoy with tortilla chips, crackers, pitas or cut up veggies. This dip is easy enough to throw together during the week for a snack or lunch but flavourful enough to bring to a party. Would be a great make ahead, maybe just add an extra Tbsp of olive oil so it doesn’t dry out.
]]>
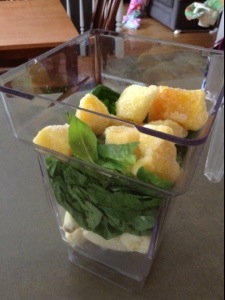
2 ripe bananas
2 [...]]]>

2 ripe bananas
2 cups packed spinach
1 cup frozen mango chunks
1 flax egg (1 Tbsp ground flax with 3 Tbsp warm water, set aside for a few minutes)
1 3/4 cup spelt flour
1/2 cup coconut sugar
1 tsp baking soda
1 tsp cinnamon
1/8 tsp salt
1/4 cup coconut oil, just melted
Prepare flax egg. Blend bananas, spinach, mango until smooth. Whisk all dry ingredients together in a bowl. Add smoothie mixture and flax egg to dry ingredients. Start to mix together with spatula then stir in coconut oil and mix until fully combined. Spoon into 12 muffin cups. Bake at 350 for 20-24 minutes. I used a silicone pan and they took 22 mins.

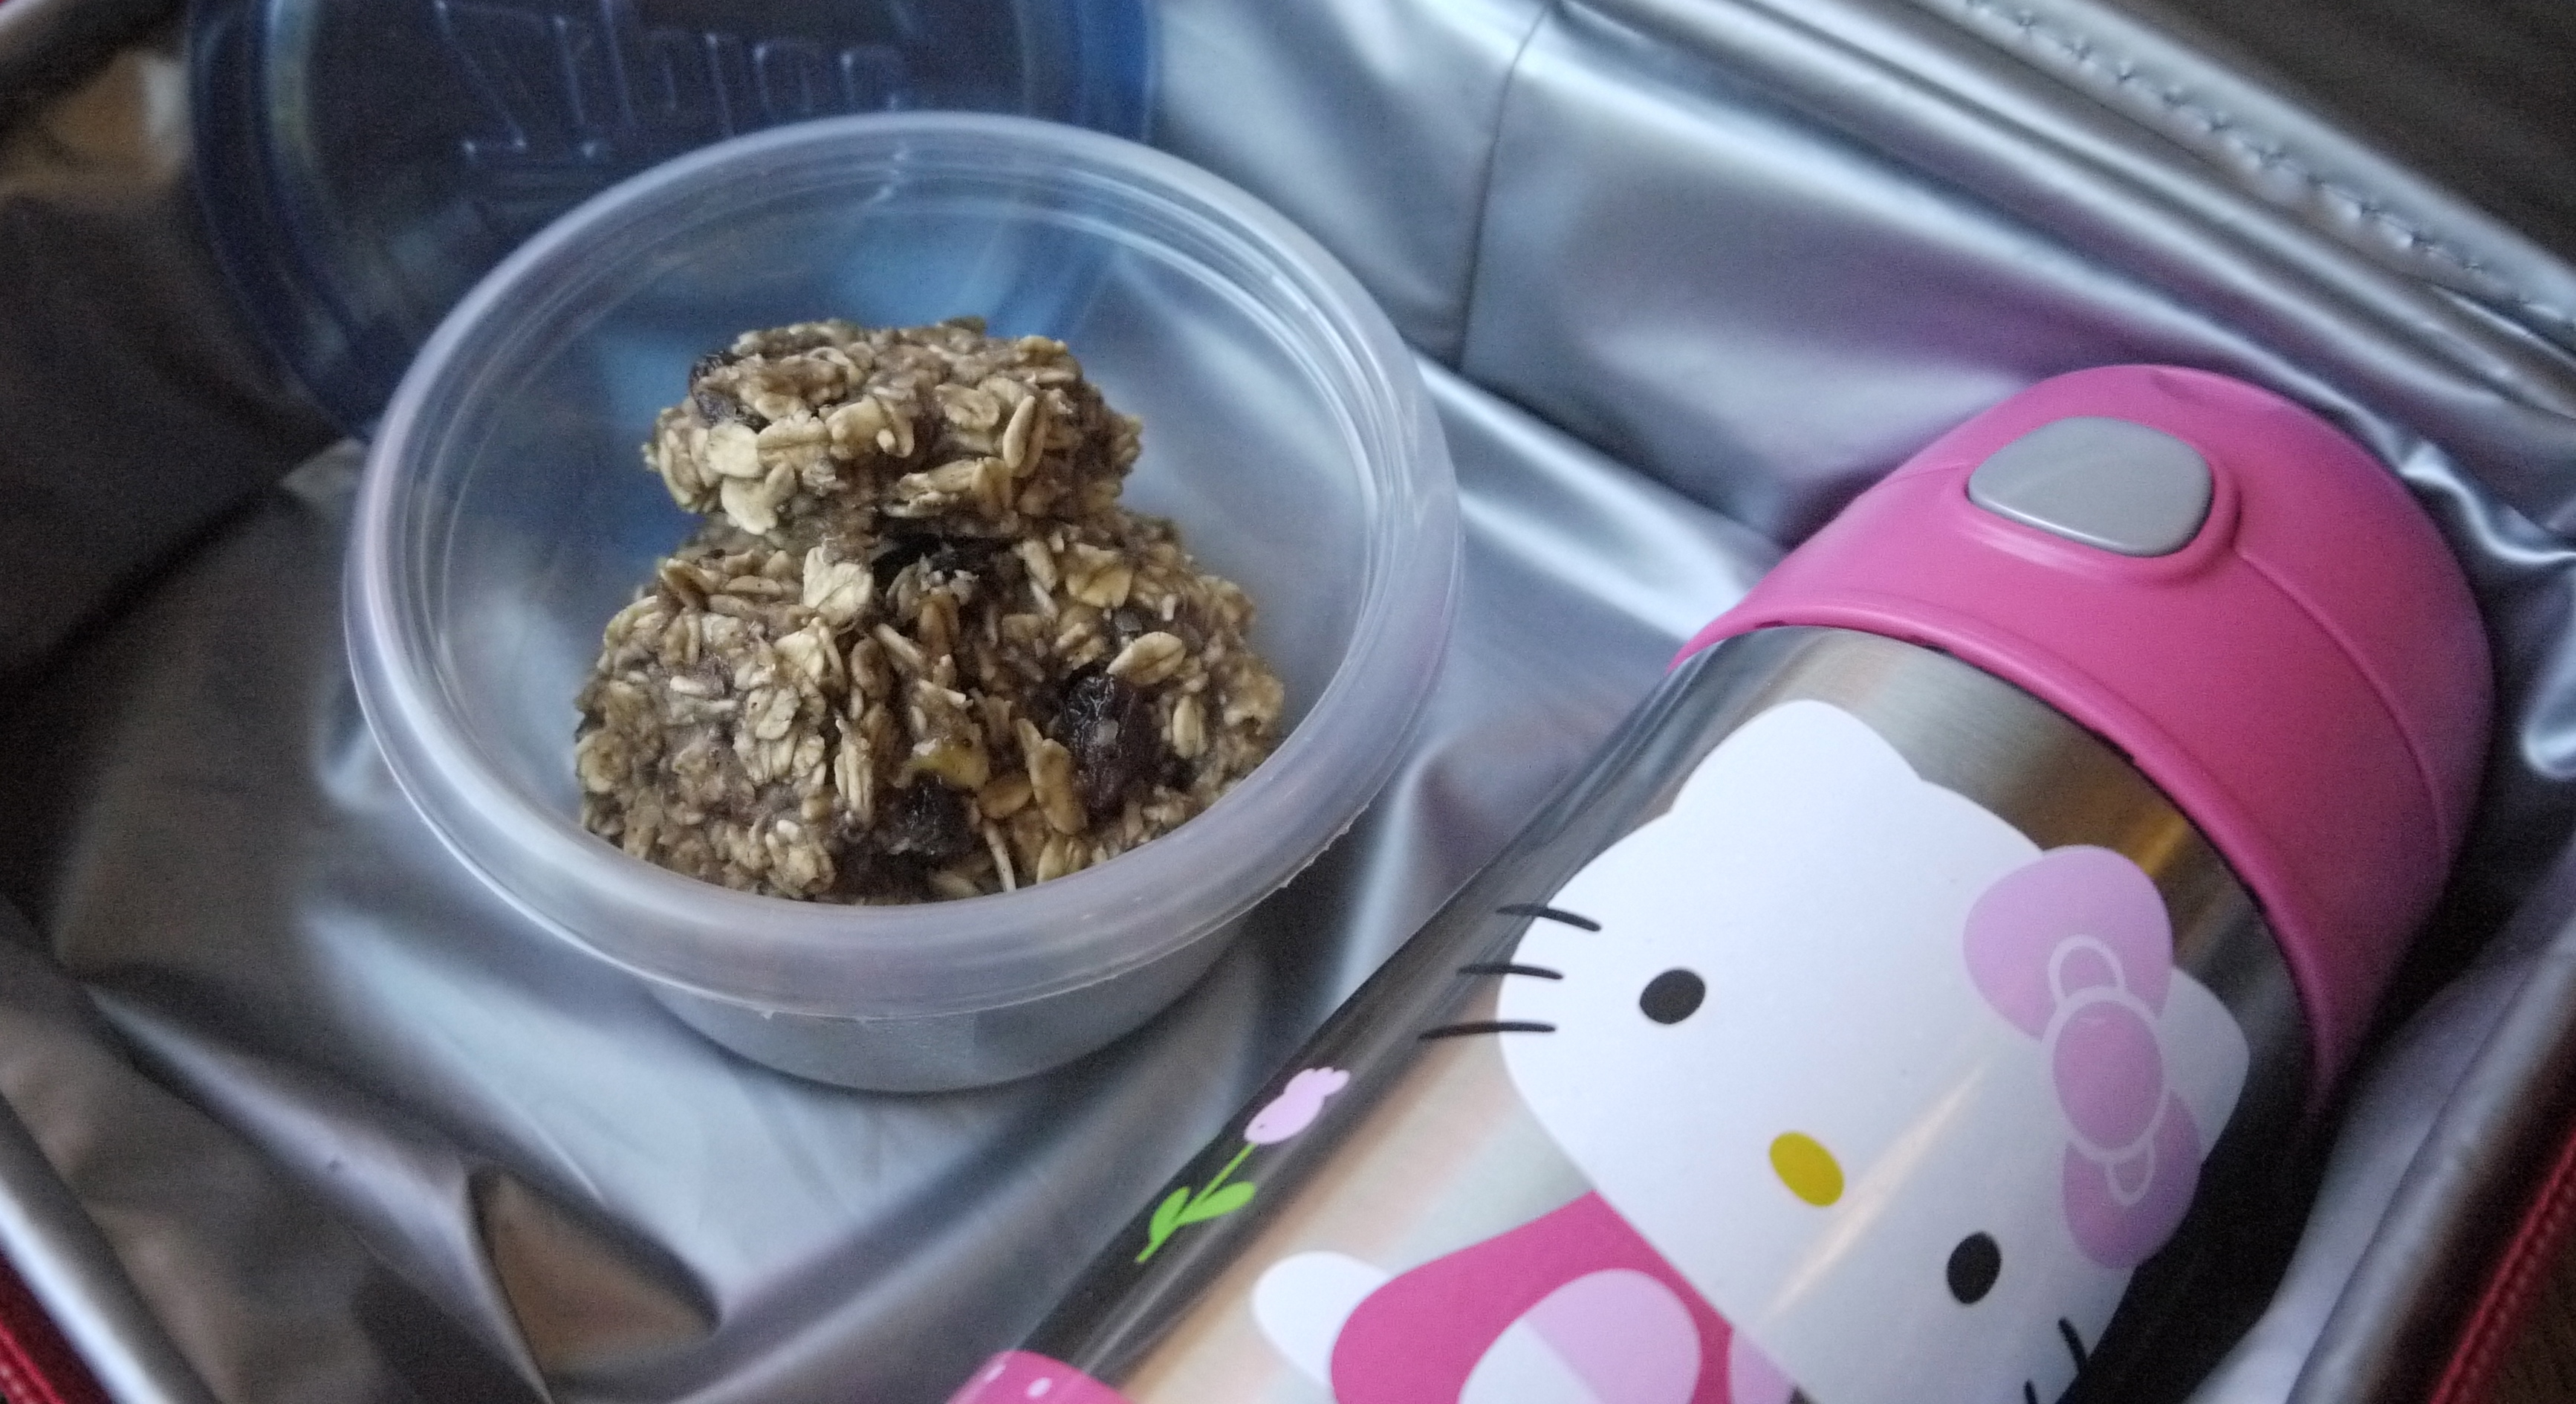
Great recess snack for your kids’ lunchbox
My daughter started kindergarten this year at a nut free school. That doesn’t mean just no peanuts- it’s ALL NUTS! Don’t get me wrong; I’m not objecting to a safe environment for kids with nut allergies. I just mean that for a family who eats a plant based diet I was surprised to find out just how many things we were eating with nuts in them. It goes beyond just PB and J sandwiches in our house- even our macaroni and cheese is made with cashews!
So, when I found this recipe I was quick to make it a staple in my kids’ lunch. Besides not containing any nuts these tasty morsels don’t contain any added sugar and are gluten free. With whole grains to keep them full until lunch, they make a great recess snack.
3 Bananas, mashed
1/3 cup Unsweetened applesauce
1/4 cup Non dairy milk (remember Almond milk is made from nuts)
1 tsp Vanilla
1 tsp Cinnamon
1/2 cup Organic raisins
2 cups Organic Rolled oats
1 Tbsp Chia seeds (optional)
1 Tbsp Hemp hearts (optional)

What they look like before being baked.
Combine all ingredients in a bowl and mix well. It will seem a bit wet but don’t worry the liquid will cook into the oatmeal. Use Tablespoon sized cookie scoop and place balls on cookie sheet covered with silicone baking mat or parchment paper. These will not spread out so put them close together. Press down lightly with a fork.
Bake at 350 for 17-20 mins.
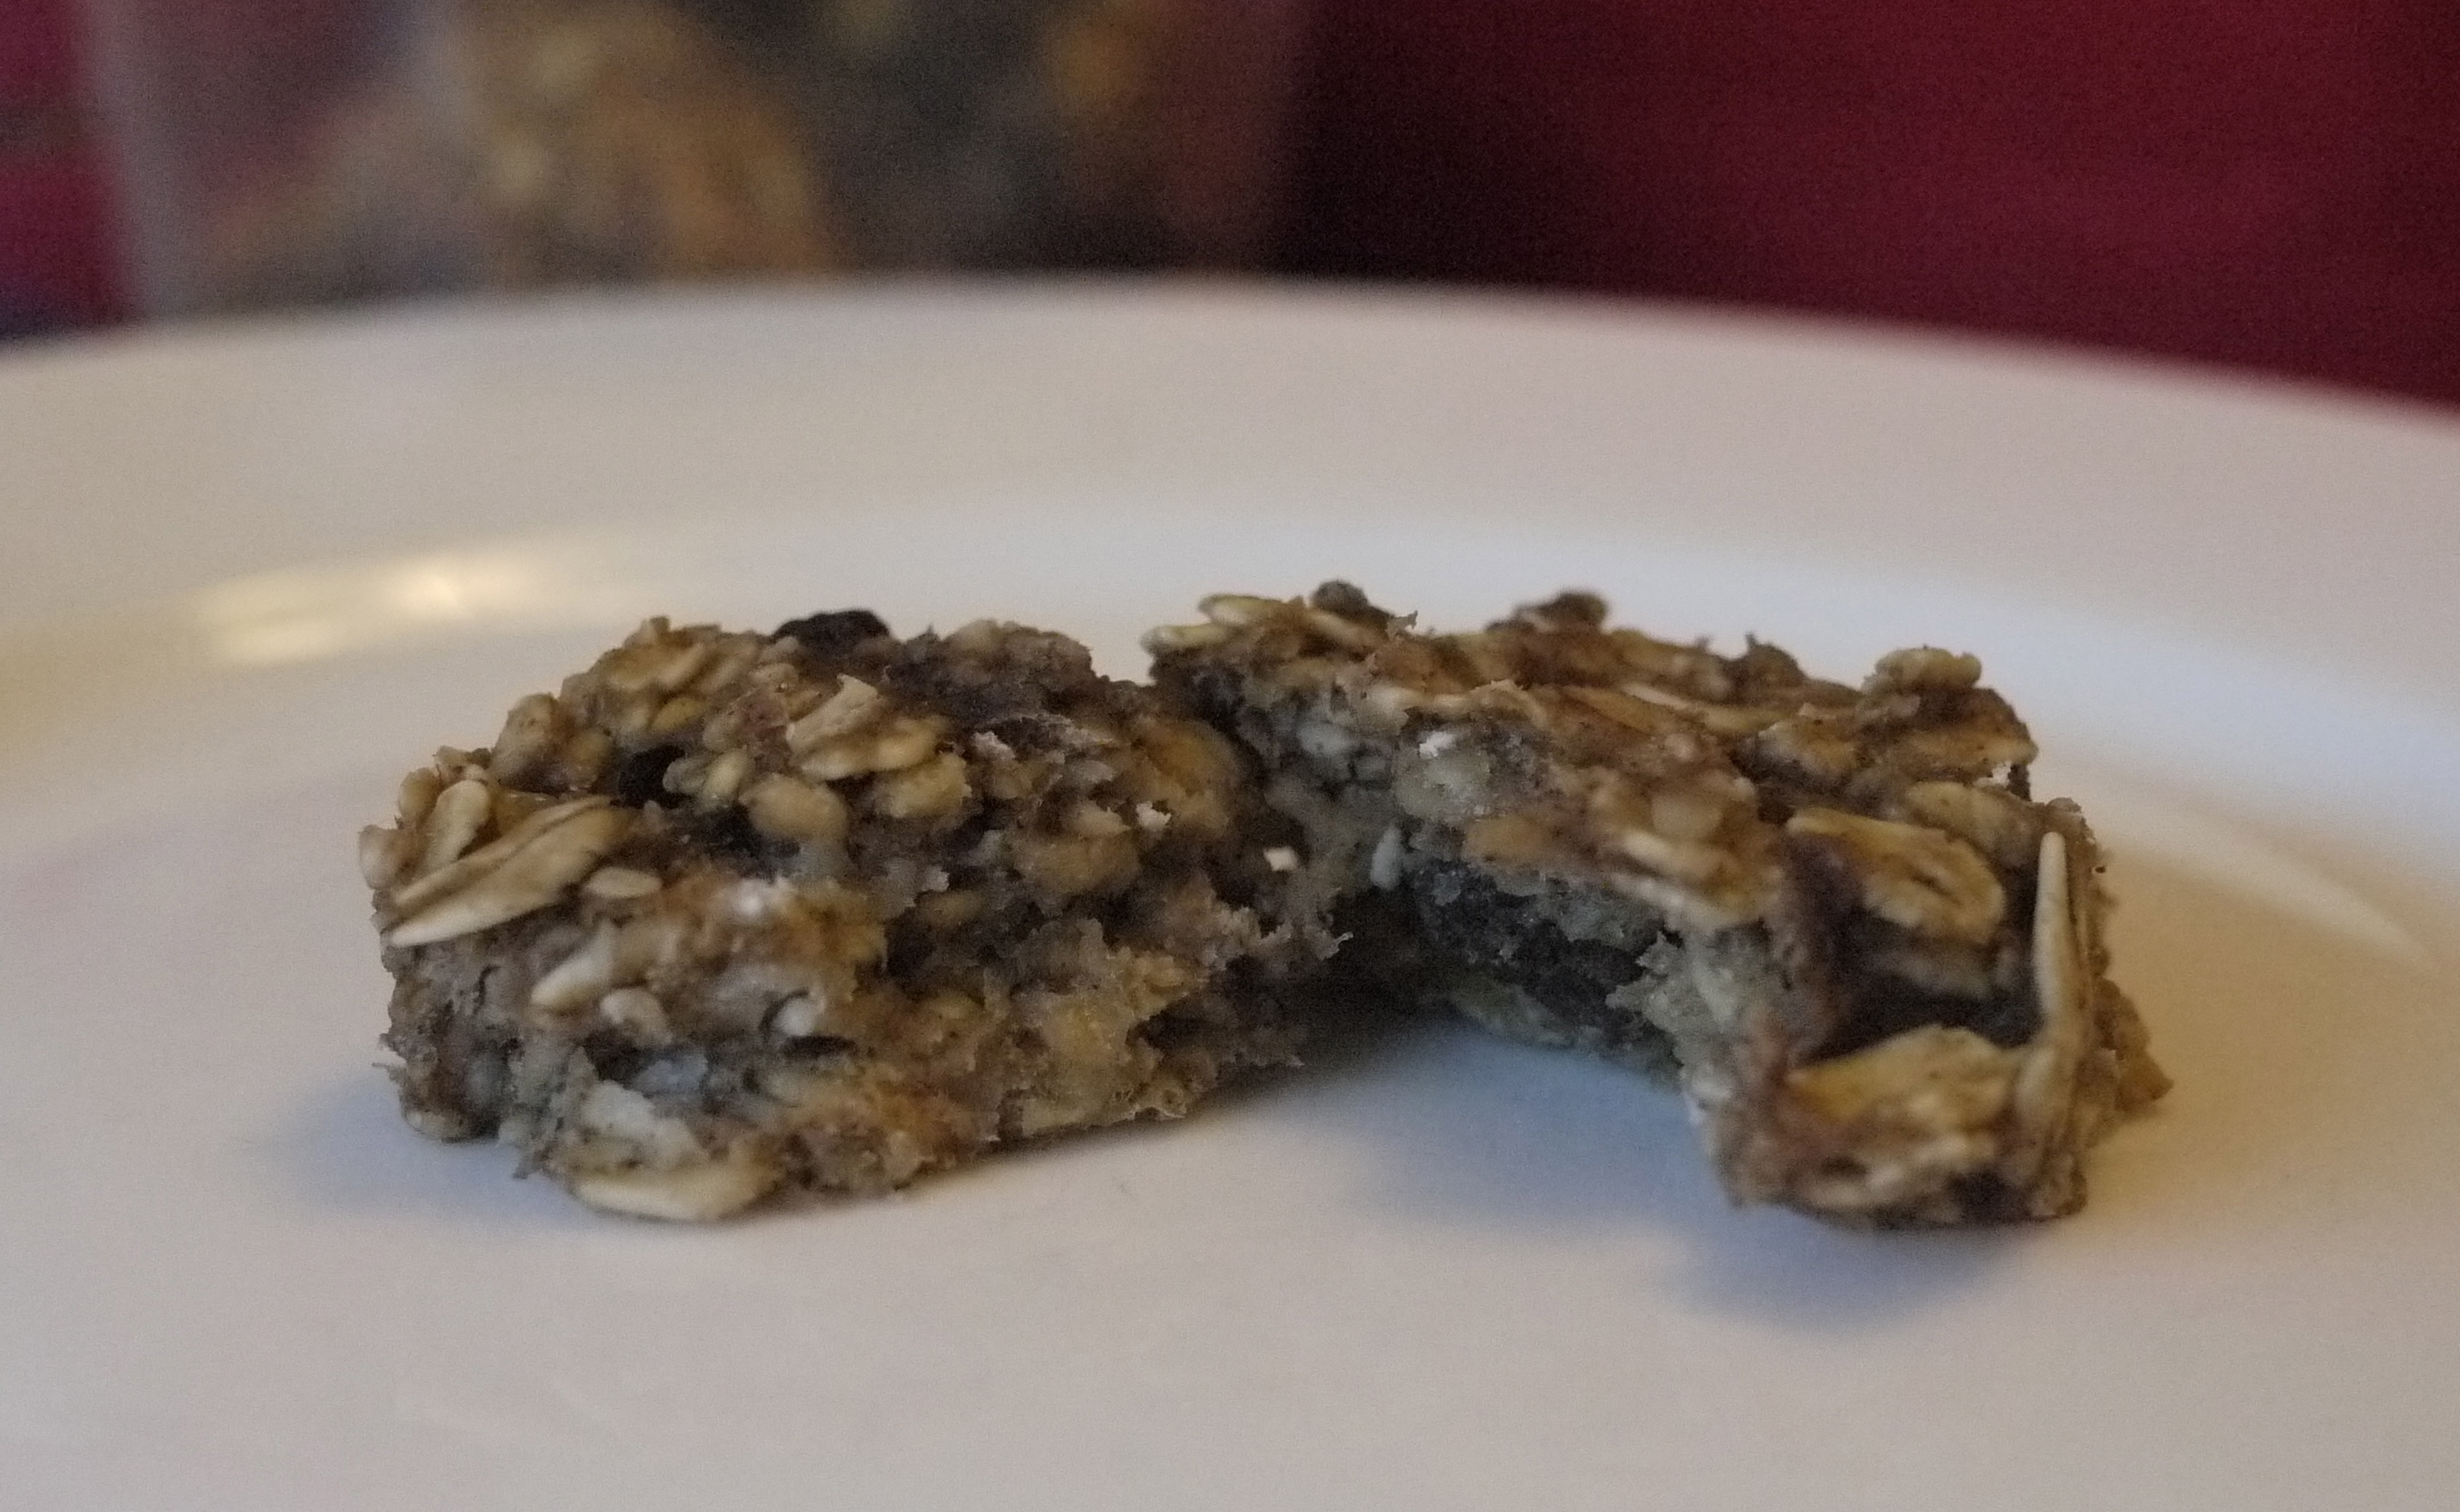
Ta Da! All finished. Kids love them, and grown ups too.

Here are a few ideas [...]]]>
Here are a few ideas I found. All of them are super easy…. the falafels might take a bit more time but I had to include them as I think it would be worth it.

Falafel Spiders
Great way to get your kids to eat more beans!

Horrifying Hummus Fingers
Nice way to spook up some hummus

Creepy Caterpillar Kebabs
So cute and easy to make.

Pumpkin Party Platter
Doesn’t get much easier than a bag of carrots!

Spider Sandwiches
I would use a nut butter or vegan cream cheese for the filling and you could use pepitas for the eyes.

Scary Skeleton Vegetable Tray
You could use any veggies or dip you had on hand. Get creative!
These healthy snacks are perfect for kids and adults and they’re a nice change up from all the sweets. Which one will you be making? Happy Halloween!
PS: When I could, pictures link back to their original sources as these images are not my own
]]>


So healthy and full of flavour
Who doesn’t love a good lasagna? It’s the ultimate comfort food in our house too. This version is 100% plant based but still has all the flavour of a traditional lasagna. Don’t be intimidated by the “make your own” ricotta cheese layer. Once you do it once, you’ll have it mastered for next time. It’s the secret ingredient that gives this dish it’s creaminess and another layer of flavour that won’t have you missing anything. Your body will thank you for it.
Plus I love lasagna because it feeds our whole family for one dinner and then there’s enough leftovers for tomorrow nights dinner too. Gotta love that!
Tomato sauce:
1 onion diced
1 package of firm or extra firm organic tofu
1 glass jar of your choice pasta sauce (I like tomato basil, roasted red pepper or mushroom)
Handful of chopped fresh basil (optional)
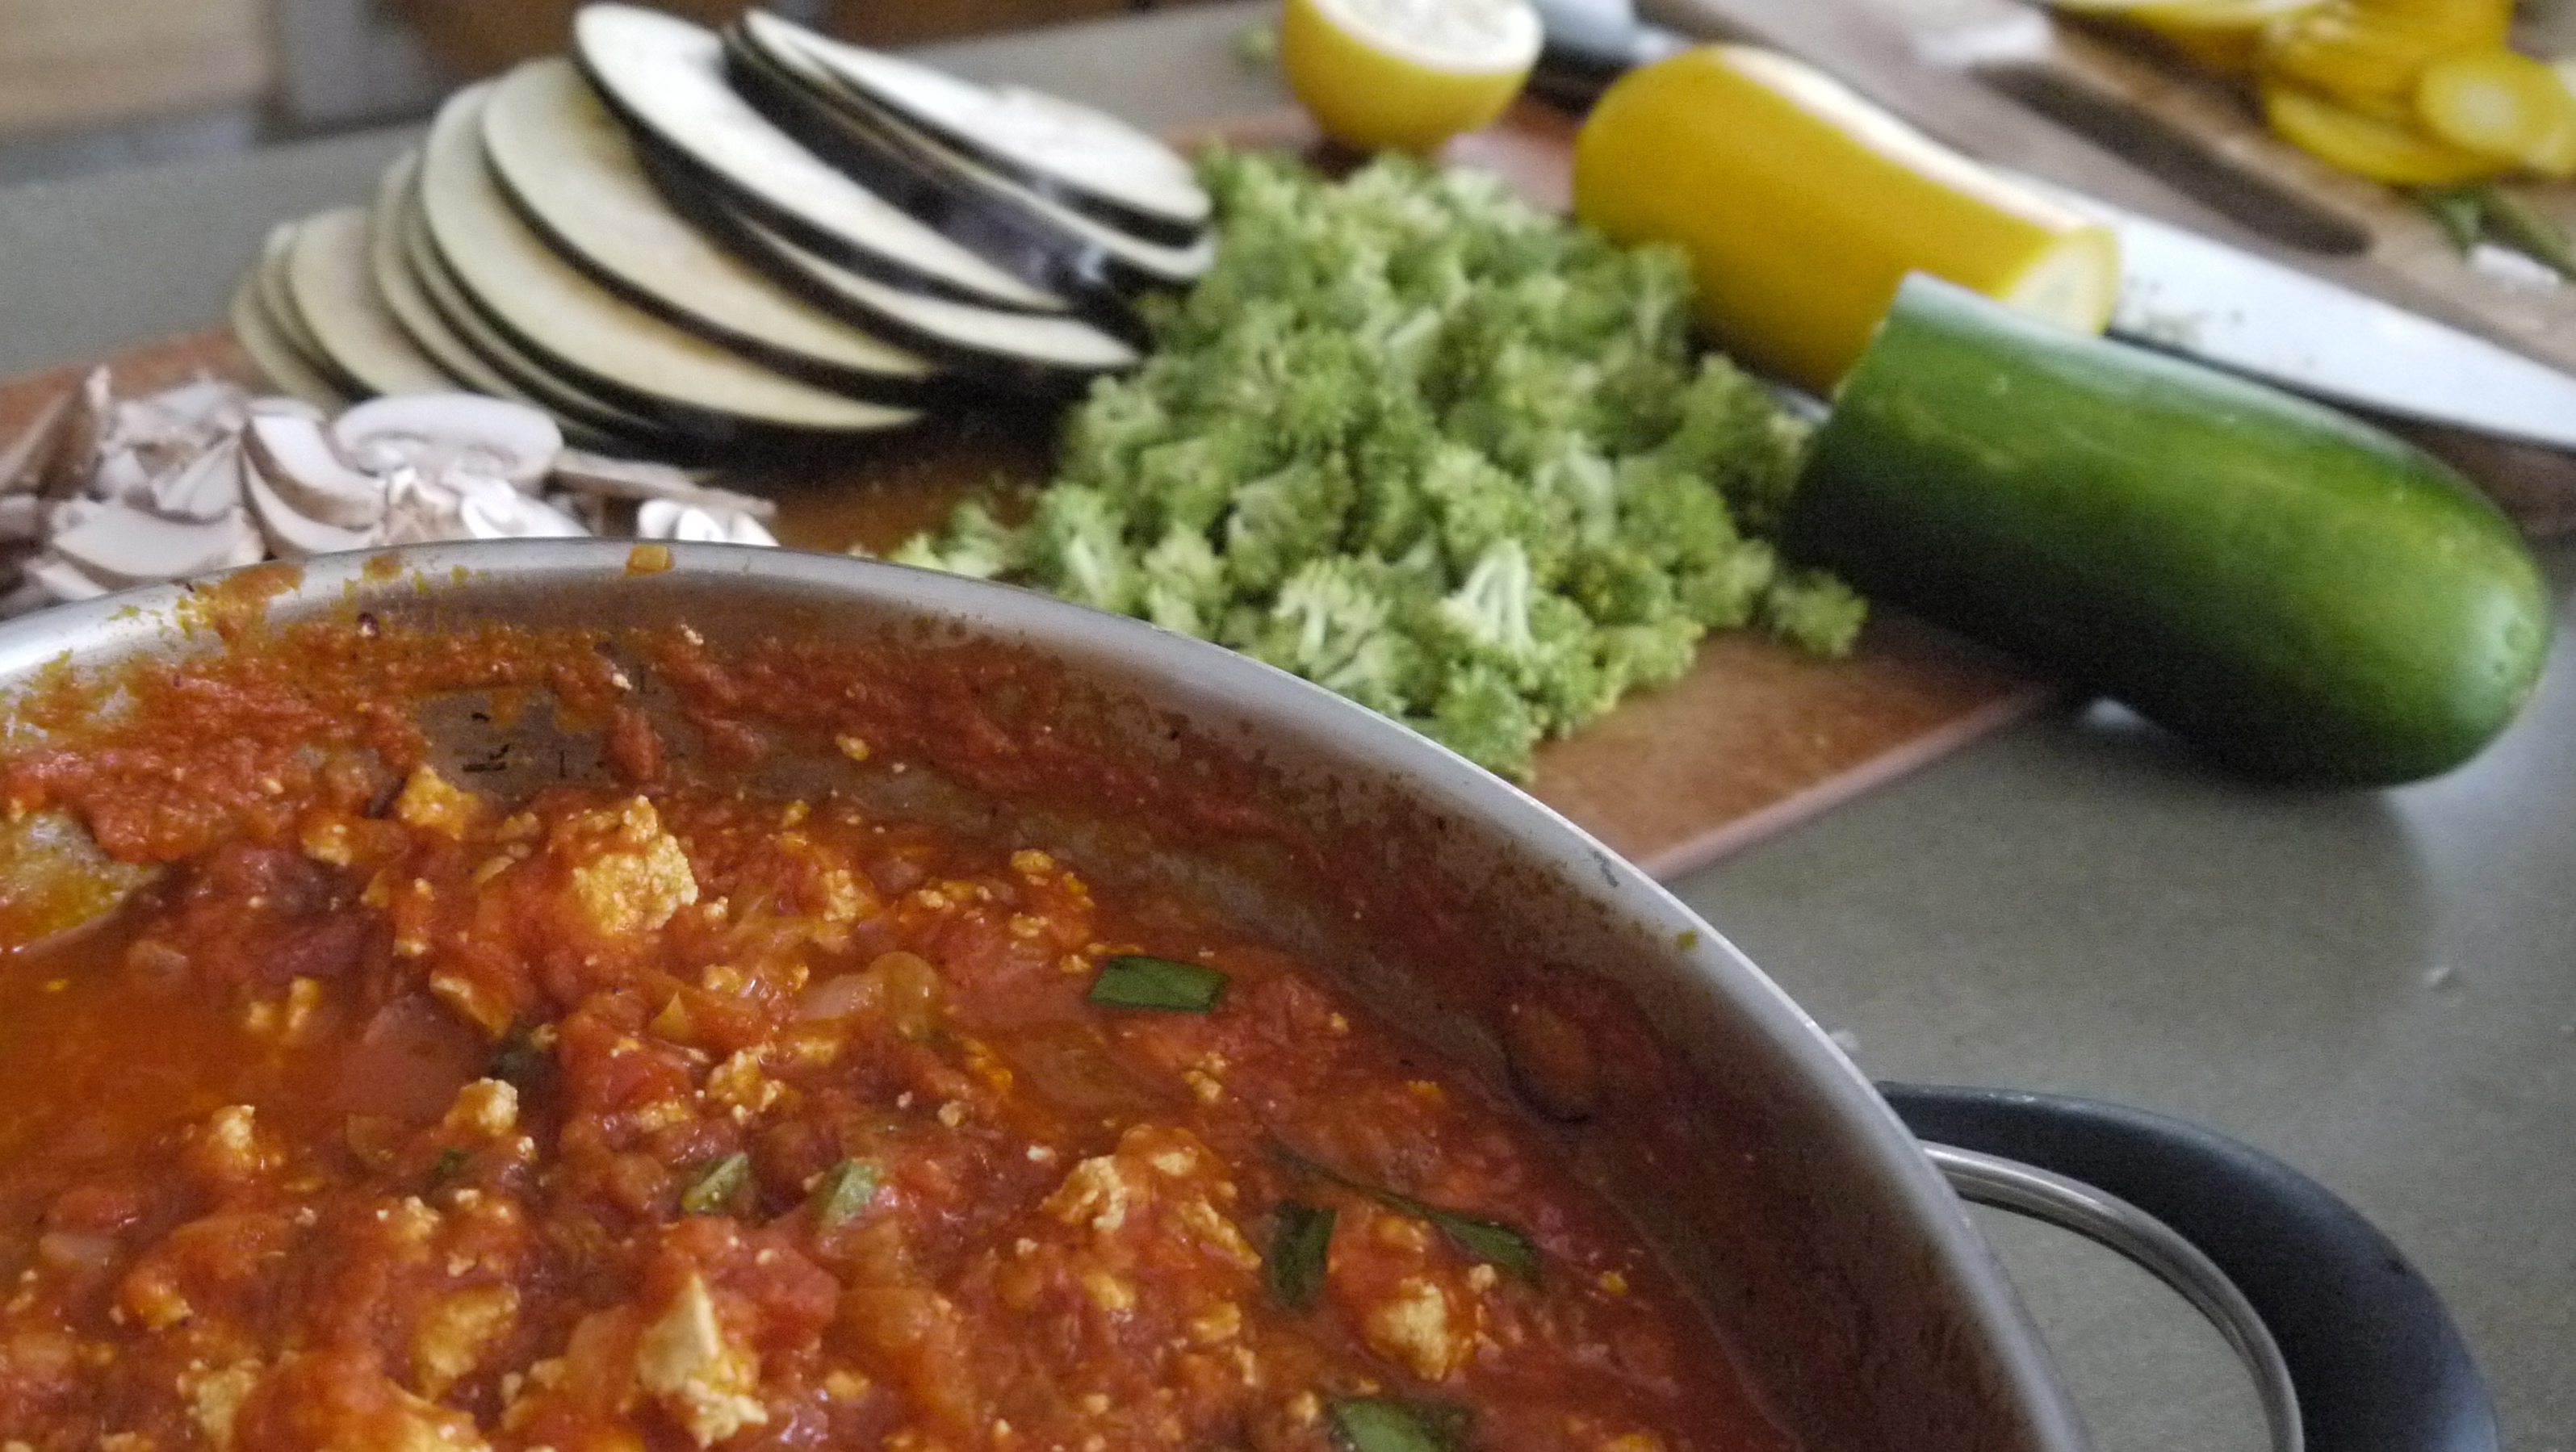
Sautee onion in a pan for a few minutes on medium heat. Open package of tofu, drain the water and dry it lightly with paper towel. Crumble in the tofu with your hands, breaking it into small chunks (it will resemble ground meat if that’s what you’re used to). Cook the onion and tofu in the pan until it starts to brown. If it’s not browning don’t worry. Sometimes mine seems to go from white to black awfully quickly so just add the pasta sauce before the onions start to burn. Dump the whole jar of pasta sauce in and stir to combine. Turn off the heat. Set aside. At this point you can also add in a handful of chopped fresh basil leaves for extra flavour if like.
Decide how many noodles you’re going to need. I usually use a 9×13 glass dish. That fits 3 noodles in each layer, so I’d cook 9. If your dish is a bit wider and you can do 4 across then cook 12. You can use any lasagna noodles for this but I wouldn’t recommend the pre cooked kind. I’ve never used them so I can’t comment on how they’d work.
I use whole wheat, kamut or brown rice for gluten free. Prepare noodles so they are slightly undercooked. Like if it says cook for 9-12 minutes, cook for 9. This is so they will soak up the excess water from the veg when it cooks and your lasagna won’t be watery.
While noodles are cooking prepare the vegetables. This is where you can customize it to your liking. Shredded zucchini, sliced mushrooms, small broccoli florets, sliced eggplant, fresh spinach or peppers work great. I don’t ever measure, you don’t need to either. Just use enough veg for a nice even layer. If using eggplant though, slice very thin or fry slices for a few minutes before you use them in the lasagna because they do take a bit longer to cook.
Creamy Cashew Ricotta
Adapted from this recipe here.
1 1/2 cups raw cashews, soaked and then drained* (soak in salted water for at least 4 hours)
1 tsp garlic powder
2 minced garlic cloves
1/4 cup lemon juice
1/3 cup water, at least
1/4 tsp sea salt
1/8 tsp pepper
1 heaping tsp Italian Seasoning
1 tsp Nutritional yeast (leave out if you don’t have)
Blend ingredients in a magic bullet until smooth, if you don’t have one use a blender.
*If you forgot to soak the cashews then you can still use them but you’re going to need to add a lot more water and blend a for a lot longer. Just keep adding a little at a time until it’s a creamy, spreadable sauce and all ingredients are incorporated.
Ready to assemble
Now you have all your ingredients it’s time to layer:
1st layer: Thin layer of tomato sauce
2nd layer: Noodles 3 or 4 across
3rd layer: Vegetable of your choice, double up too if you want. Mushrooms and spinach for example.
4th layer: Tomato sauce (it is important to cover the veg with the sauce because otherwise you will end up with a layer of plain veg between the noodles and trust me it doesn’t look or taste as good)
5th layer: Noodles 3 or 4 across
6th layer: More veg, good time for zucchini and eggplant slices; something firm because you’re going to spread the ricotta on top of this.
7th layer: Creamy Cashew Ricotta, spread evenly over the whole thing
8th layer: Another layer of small veg like red peppers or broccoli florets.
9th layer: Thin layer of tomato sauce.
10th layer: Noodles, 3 or 4 across
11th layer: the remainder of your tomato sauce
At this point you’re done or for a more traditional look cover with Daiya cheese shreds. I use mozza and cheddar. Cover with foil, but grease the foil lightly if you used Daiya because the foil and cheese will stick together when melted. Bake at 350 for about 30-35 mins. Until you can see it bubbling in the dish. Remove foil and broil for about 5 mins to melt the Daiya if you used it. Otherwise remove from oven and let sit for about 10 minutes before serving.
If you find it a bit watery when you cut into it wait a bit longer. The water from the veg should absorb into the noodles as it cools down.
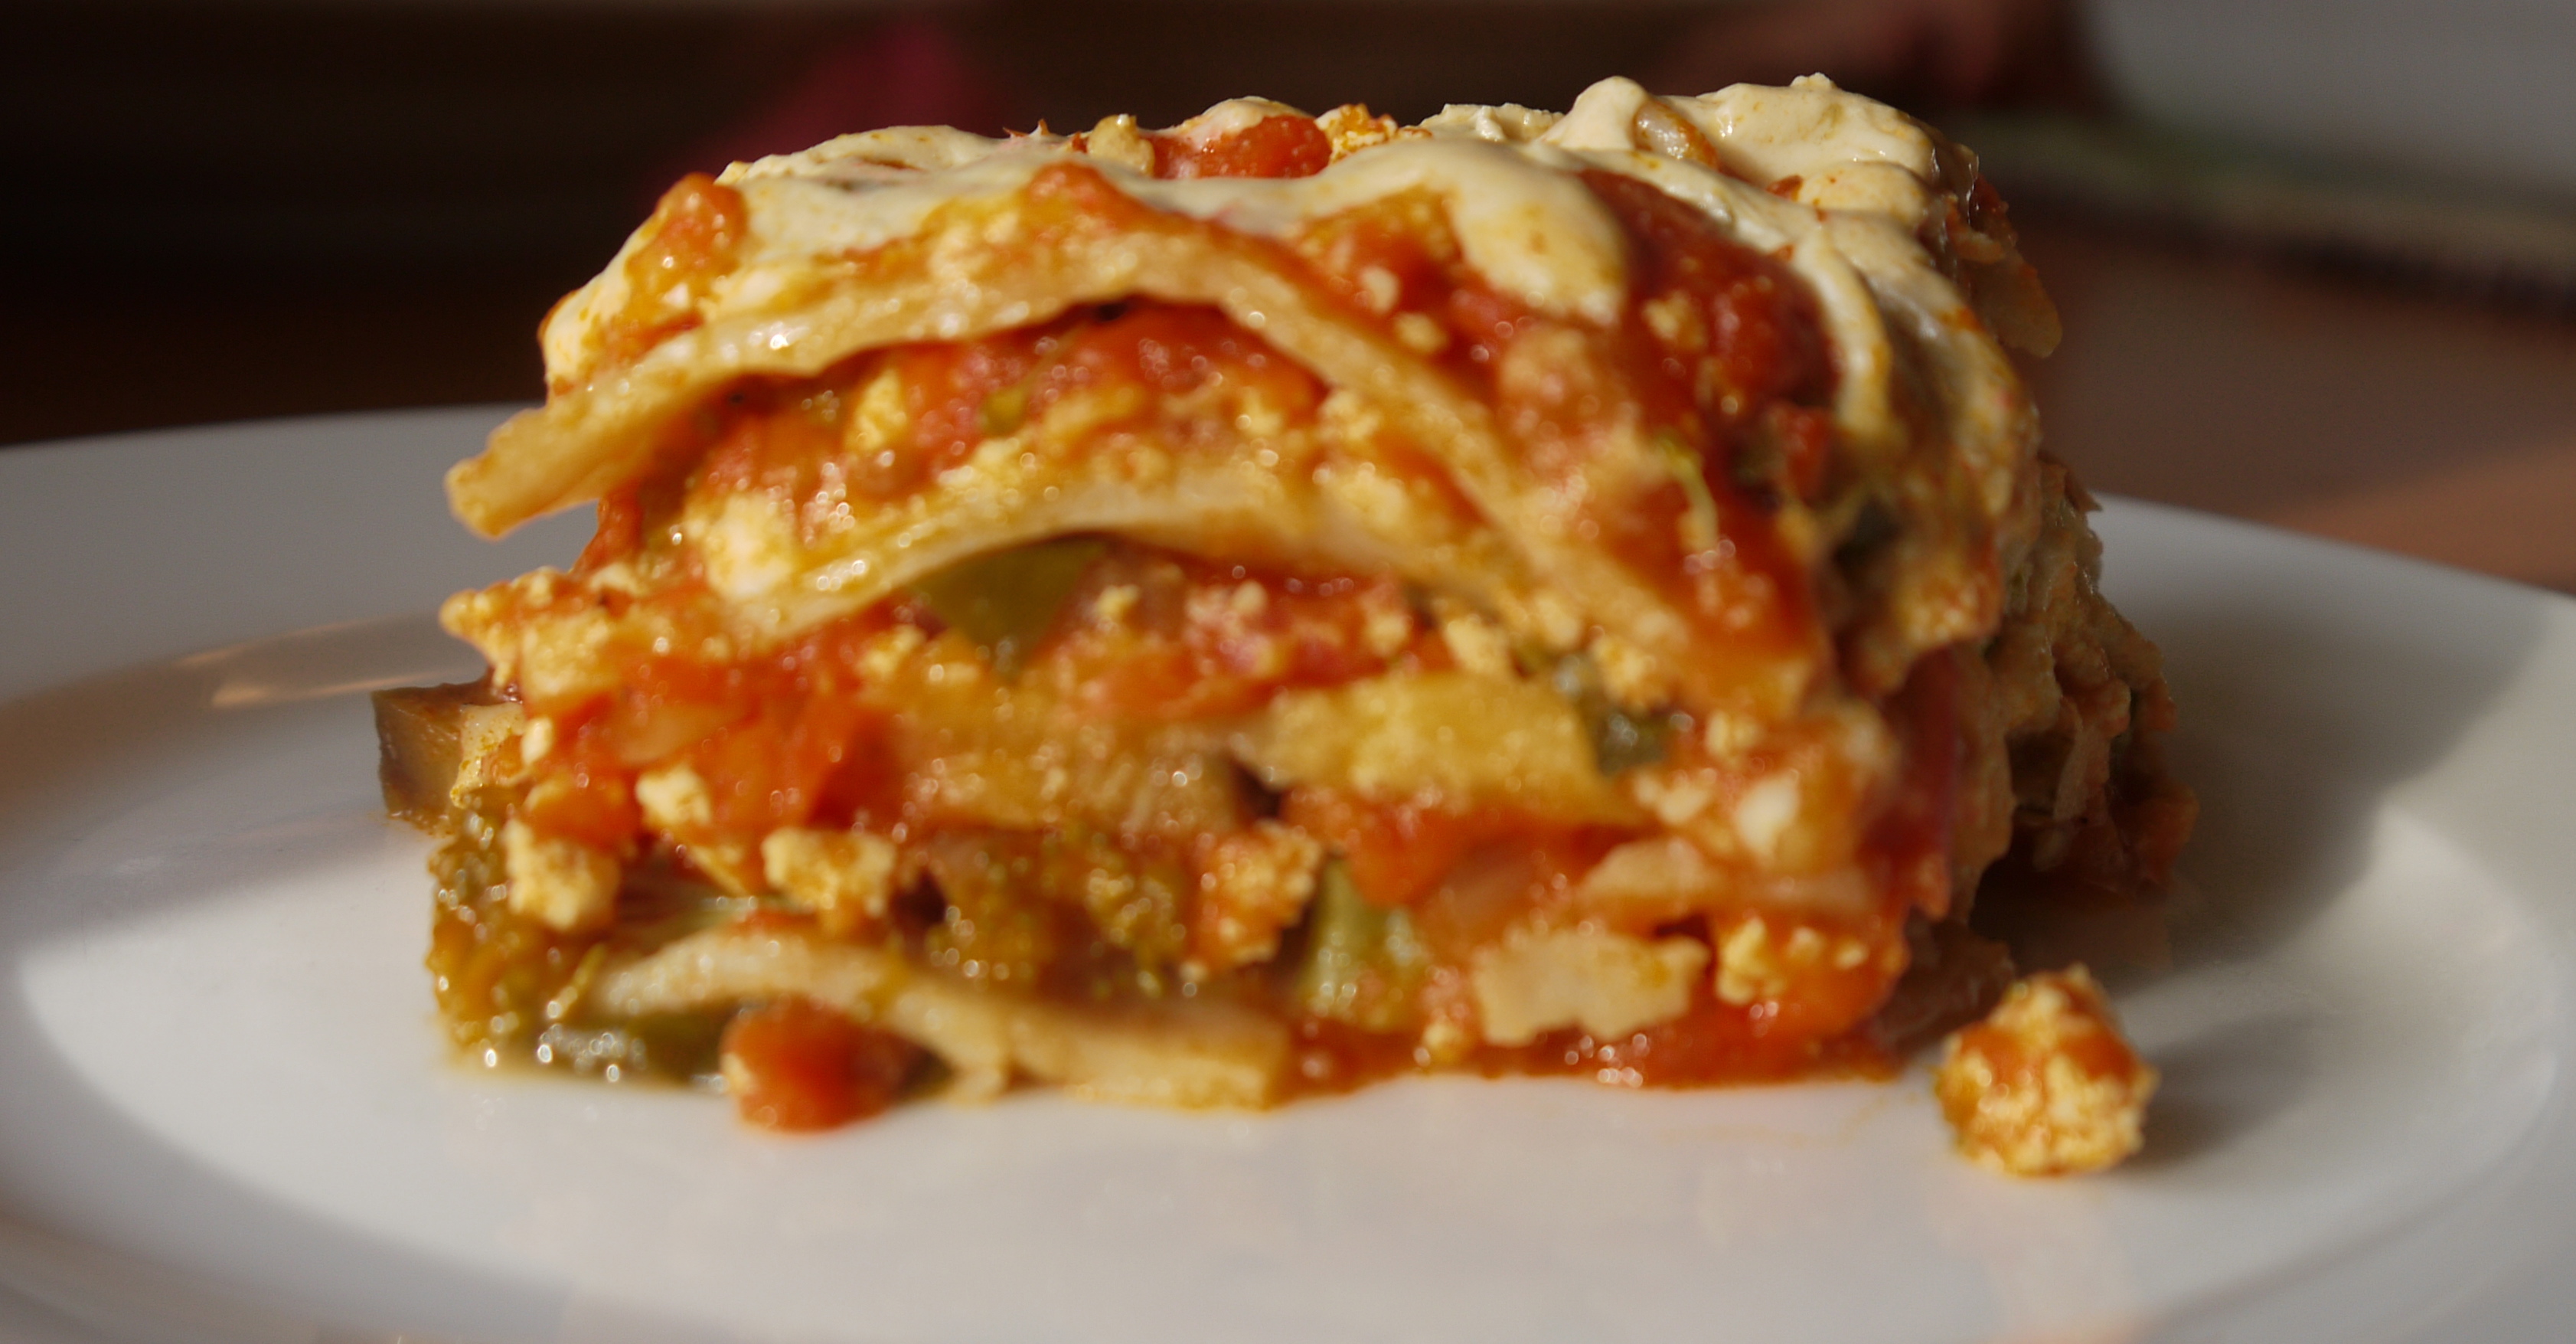
Look at all those layers! So Delicious.
]]>


Quesadilla with all the taste of pizza.
Whenever we eat pizza I find my kids picking off certain toppings that they think they don’t like. This one doesn’t like tomatoes or mushrooms or whatever they decide that day. What if you could hide all those healthy veggies inside the pizza somehow so they wouldn’t even know they’re eating it? Problem solved, right?
Introducing the pizzadilla! It’s a quesadilla but with all the taste of pizza.
These are also great because you can customize the ingredients to your liking and use what you have on hand. They also take a fraction of the time it takes to make your own pizza crust thus making this an easy weeknight meal.
1 package of whole wheat or whole grain tortillas (use brown rice tortillas for GF version)
1 small can pizza sauce or 1/2 a large can and freeze the rest for next time. I like Eden brand. No GMO’s.
Toppings:
Diced green and red peppers
Sliced mushrooms
Diced onions
Sliced Tofurky sausage; I used the keilbassa kind, or your choice of fake meat (optional)
Other topping ideas include pineapple tidbits, tomatoes or jalapeños
Daiya Cheese Shreds; I used a mix of Mozzarella and Cheddar
Spread a thin layer of pizza sauce on half the tortilla. Then layer your toppings and cheese shreds on the sauce so when it melts the cheese causes it to stick together. Fold the empty tortilla side on top of the side with toppings. Next, lay them in a med-high heat frying pan or I used a flat top grill at 350 degrees. I didn’t use any oil, it’s not needed. Flip over after a few minutes to brown both sides. I like using this method rather than baking them in the oven because I find it browns the tortilla better. The oven makes them a bit soggy. I do like my pizza crust a little crispy
Remove from the pan and let sit a few minutes on a cutting board. This lets the veg and cheese set a bit. Cut into triangles with a pizza cutter and serve with a salad or your choice of side. Enjoy!
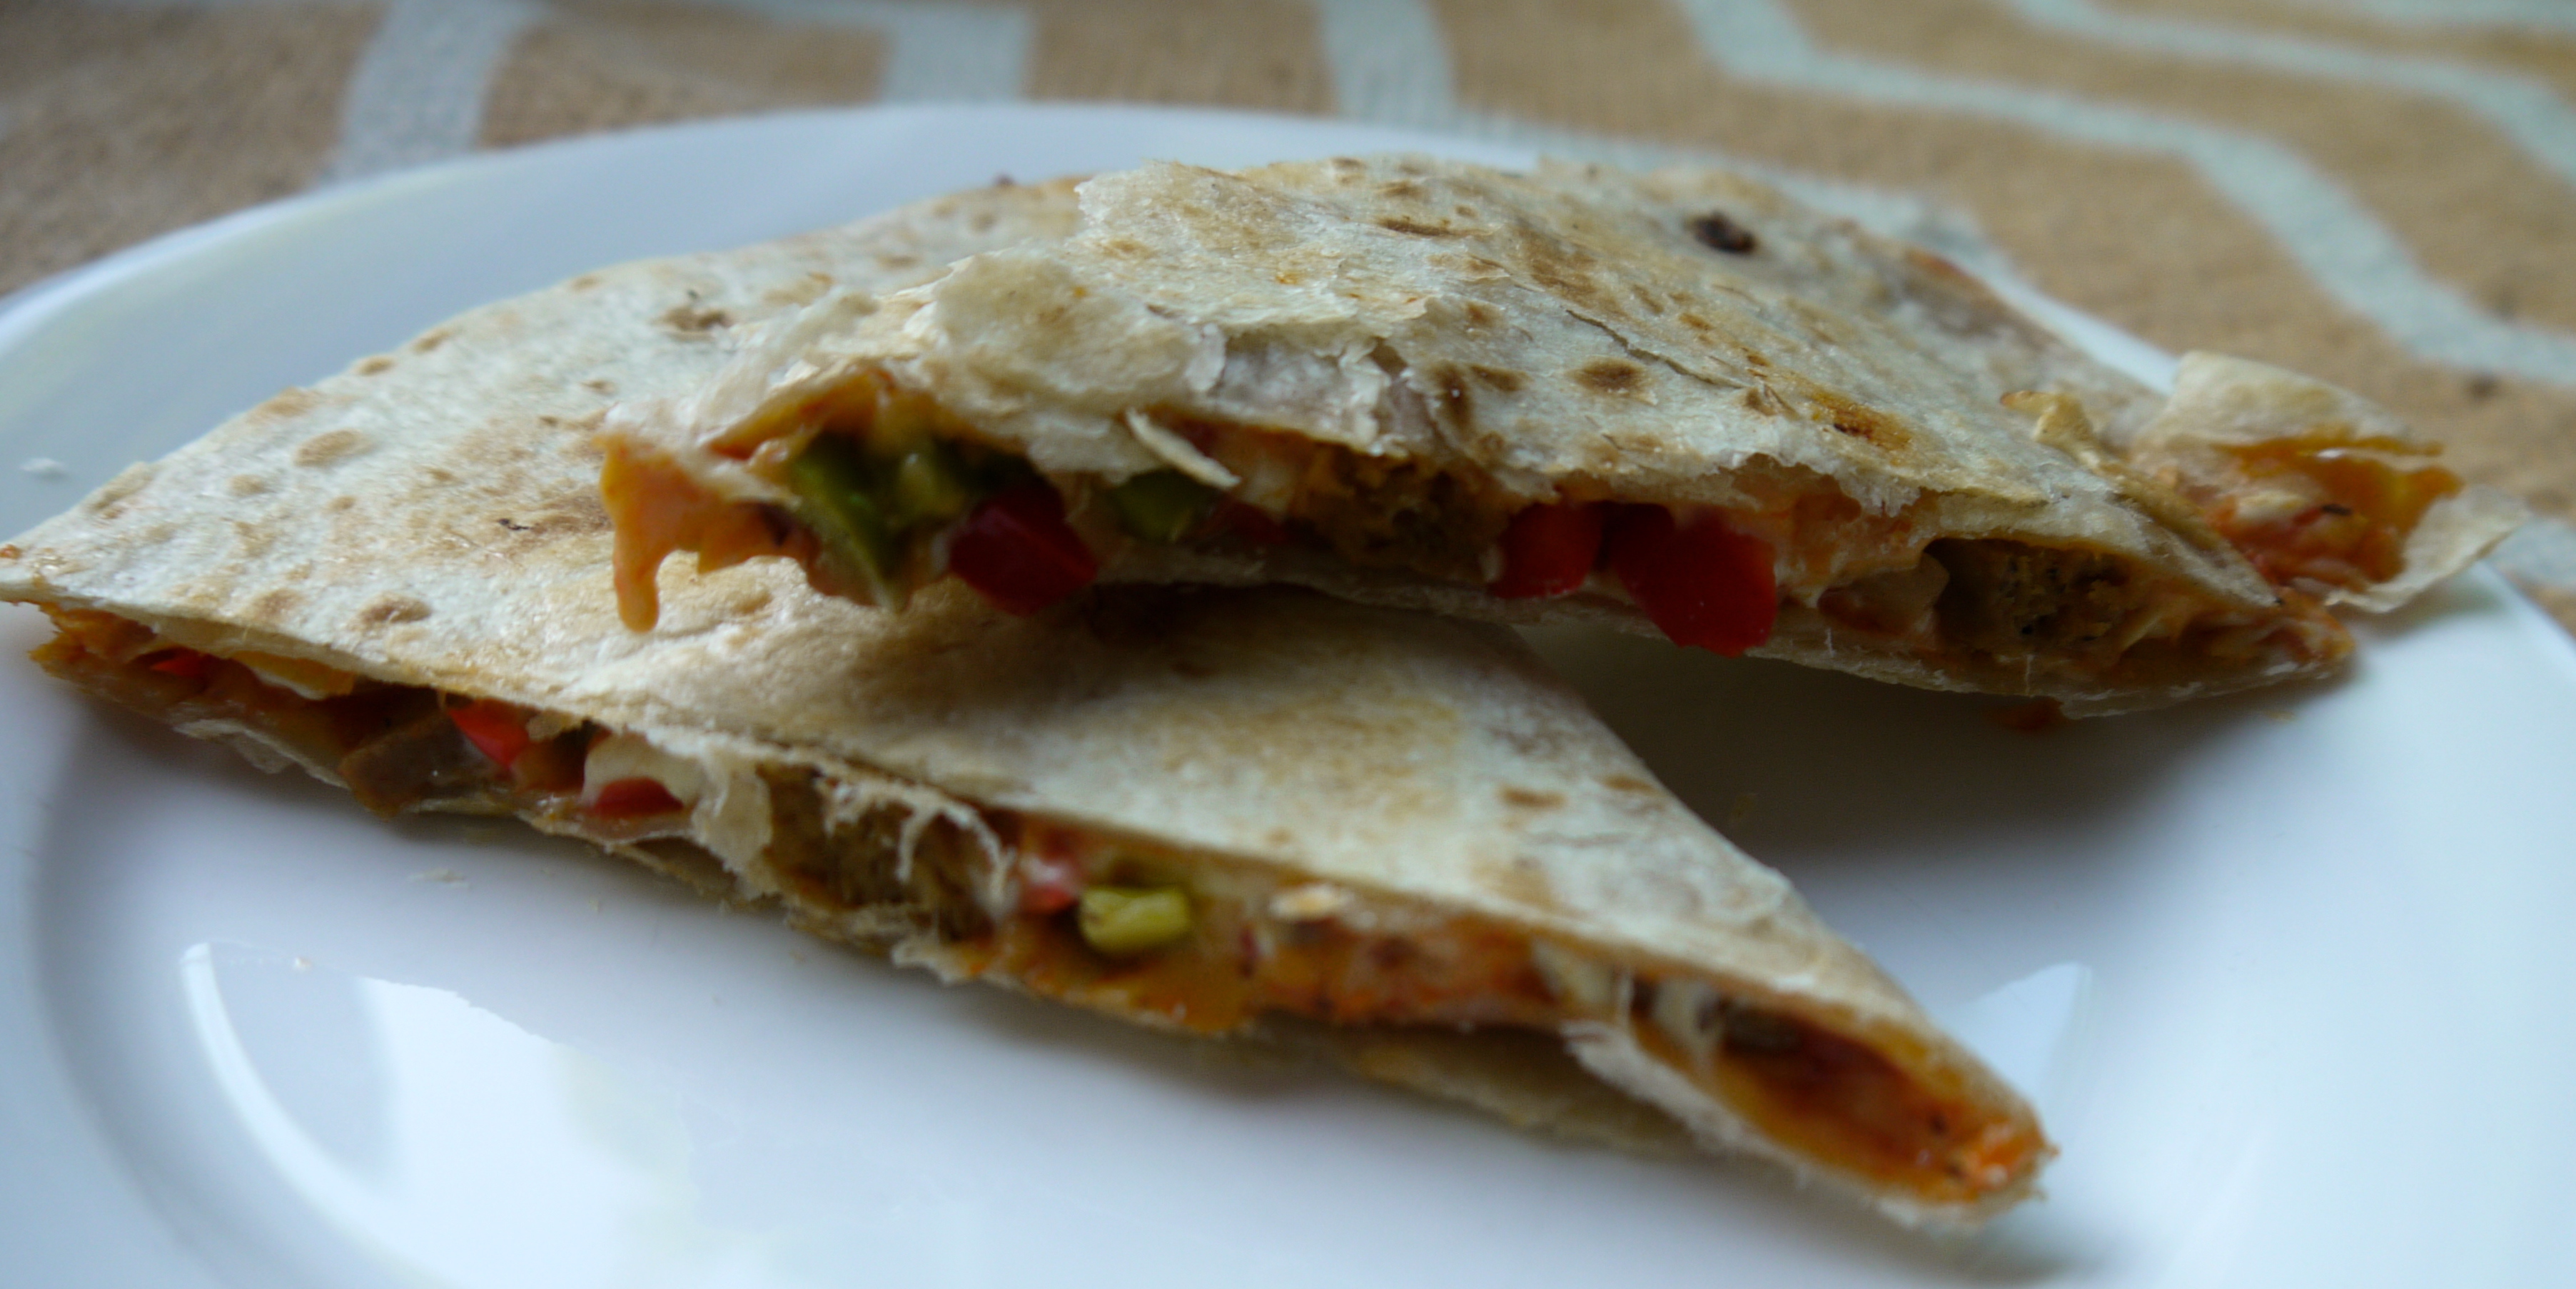
Easy weeknight meal the kids will love.
]]>

I’ve adapted this recipe from one I used to use (before I went vegan) that had tons of refined sugar and animal products in it. My new version is much healthier but still retains the same taste and texture as the original.

Healthy and delicious. Great way to use up all that zucchini!
1/4 cup melted coconut oil
1/2 cup unsweetened applesauce
2 flax eggs (2 Tbsp ground flaxseed mixed with 5 Tbsp warm water, let sit for 5 mins)
1 tsp vanilla extract
1 tsp apple cider vinegar
1/2 cup non dairy milk of your choice
1-1 1/2 cups coconut sugar (depending how sweet you like it)
2 1/2 cups spelt flour
1/4 cup cocoa powder
1/2 tsp baking powder
1 tsp baking soda
1/2 tsp cinnamon
1/2 tsp ground cloves
2 cups grated zucchini
1/4 cups chocolate chips (optional)
Combine wet ingredients in a bowl. Whisk together dry ingredients in another bowl. Add wet ingredients to dry and stir well to combine. Fold in zucchini and chocolate chips, if using.
Pour in a 9×13 glass dish. You can grease lightly with coconut oil or line with parchment paper. Bake at 350 F for 35-40 mins. Until toothpick comes out clean.
I don’t see why this couldn’t be used to make muffins if you prefer. Just adjust the baking time. Probably around 20-25 mins.
]]>
This is the best jam I’ve ever tasted! The best part is it doesn’t have any of those additives or a ton of sugar. You can literally put it on anything. I slathered it on toast, pancakes and even stirred it into my oatmeal. It’s great in PB and [...]]]>
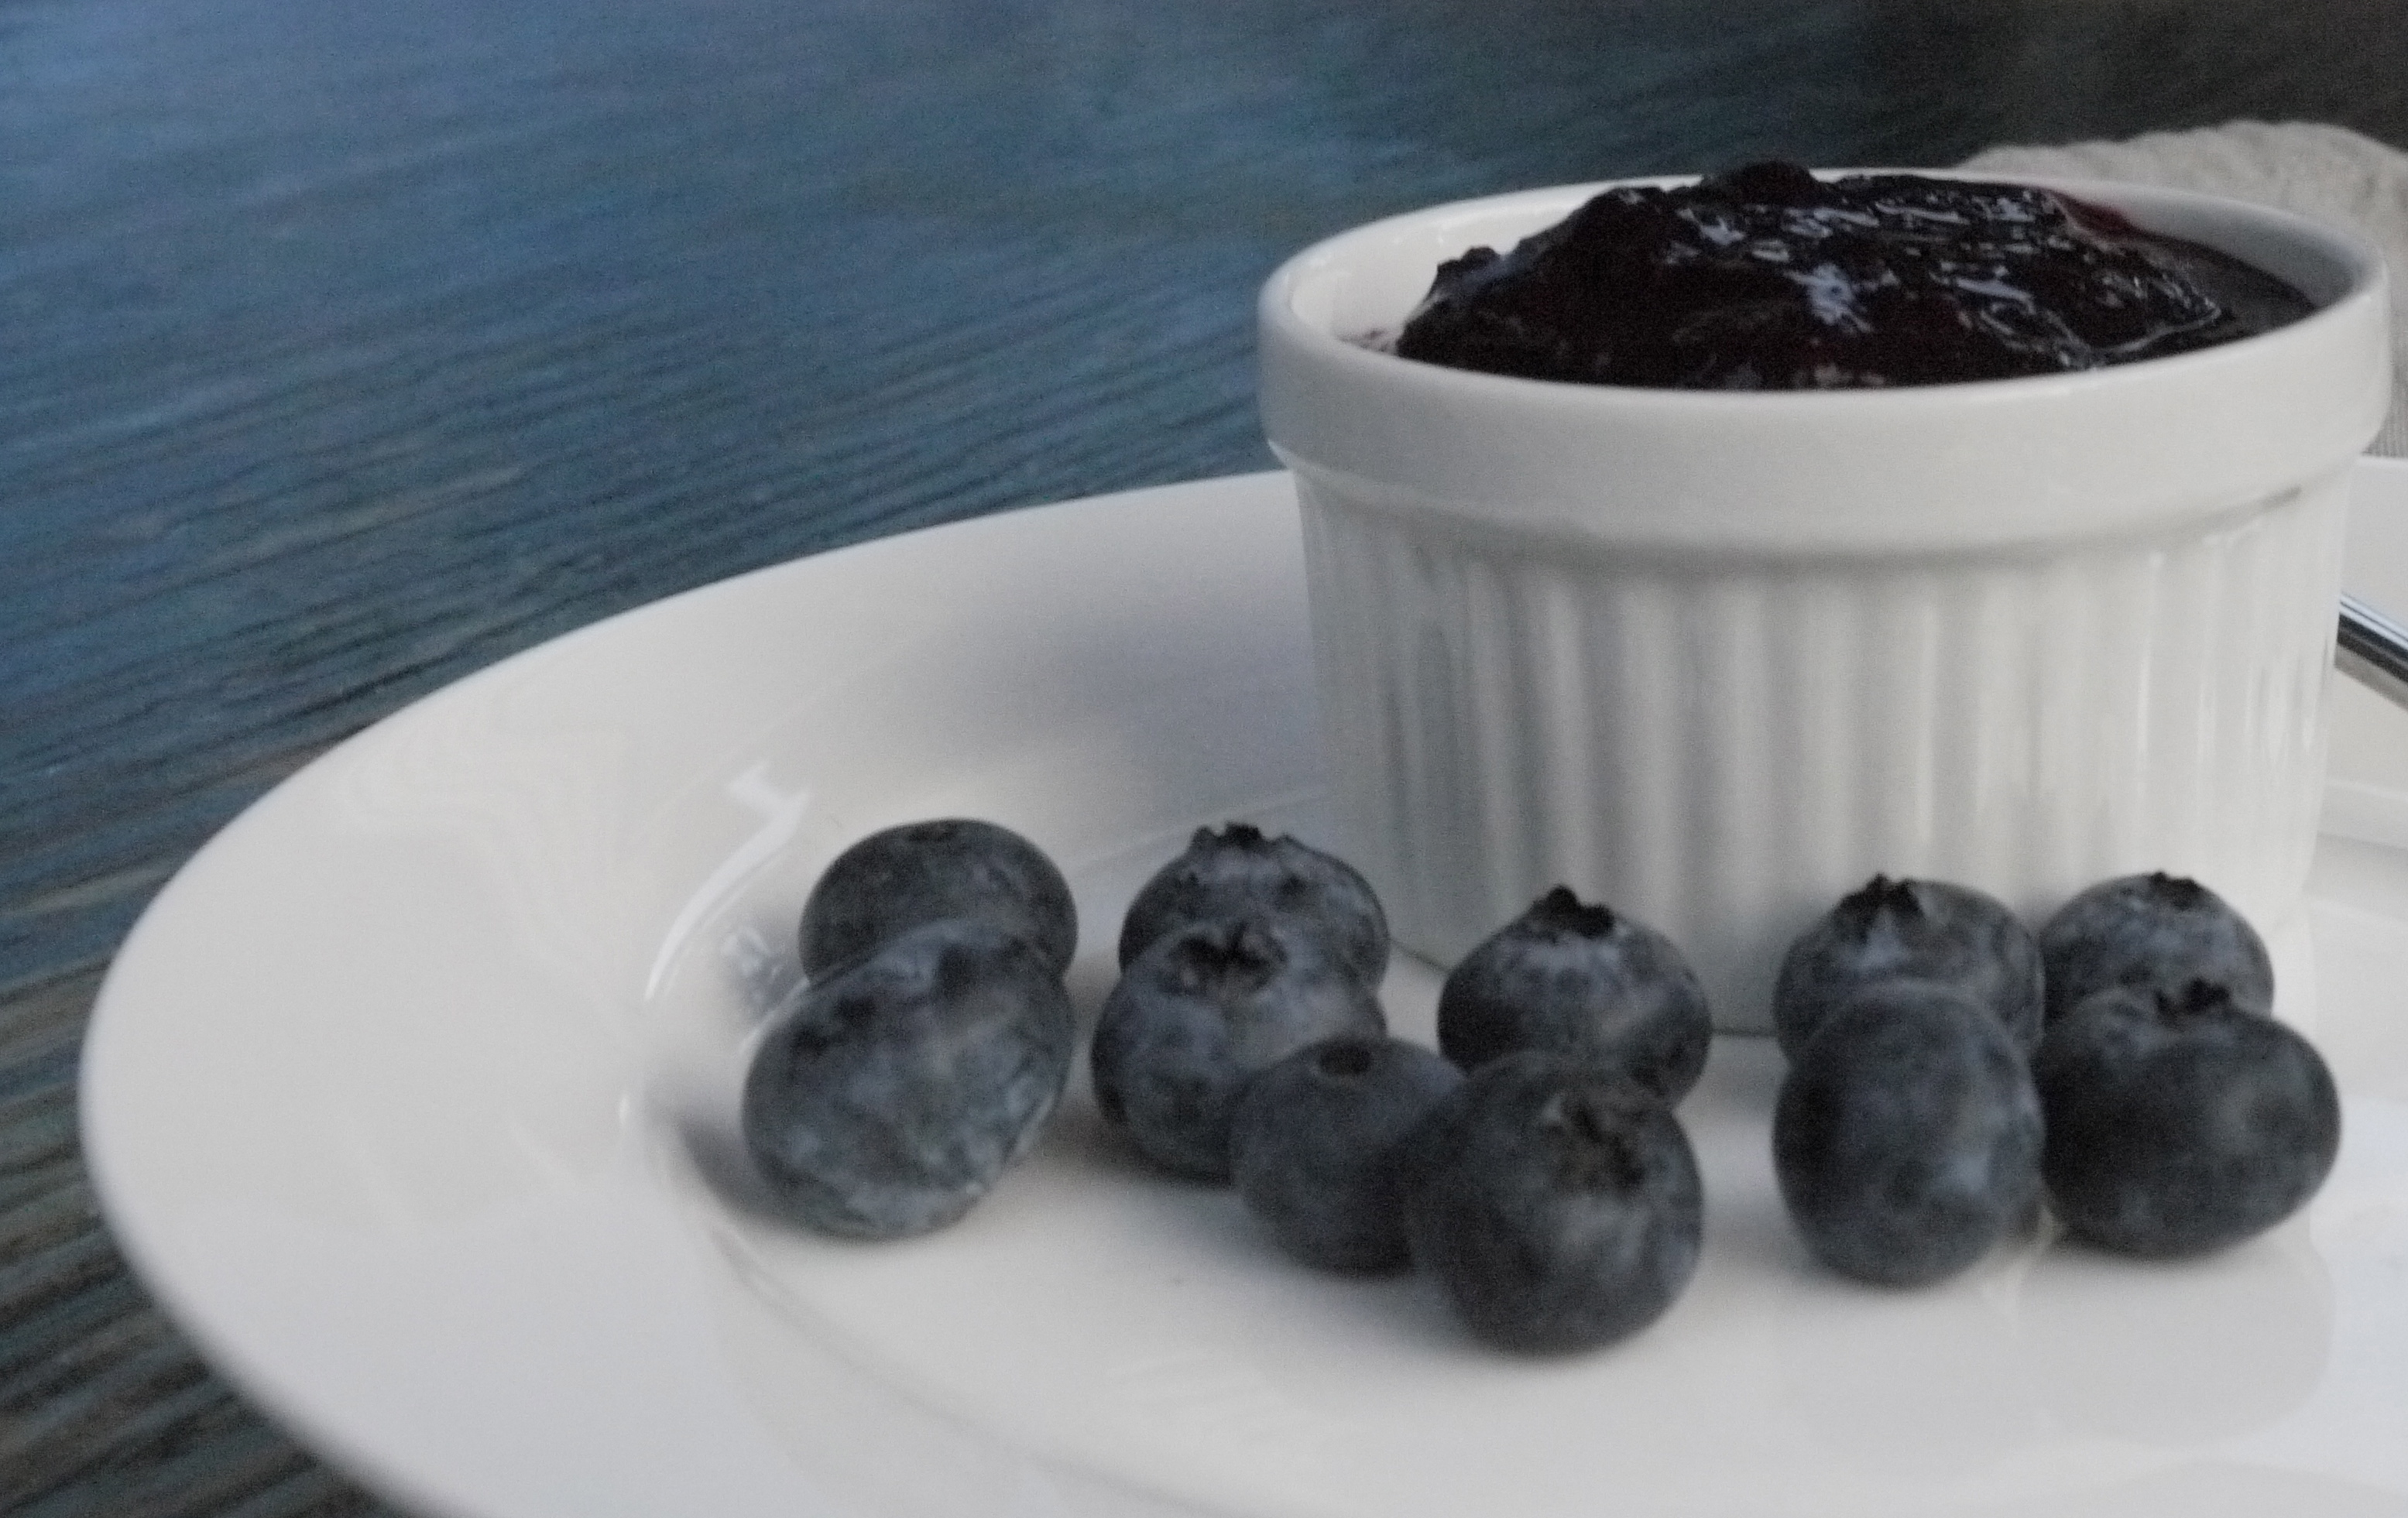
This is the best jam I’ve ever tasted! The best part is it doesn’t have any of those additives or a ton of sugar. You can literally put it on anything. I slathered it on toast, pancakes and even stirred it into my oatmeal. It’s great in PB and J sandwiches too. The kids love it!
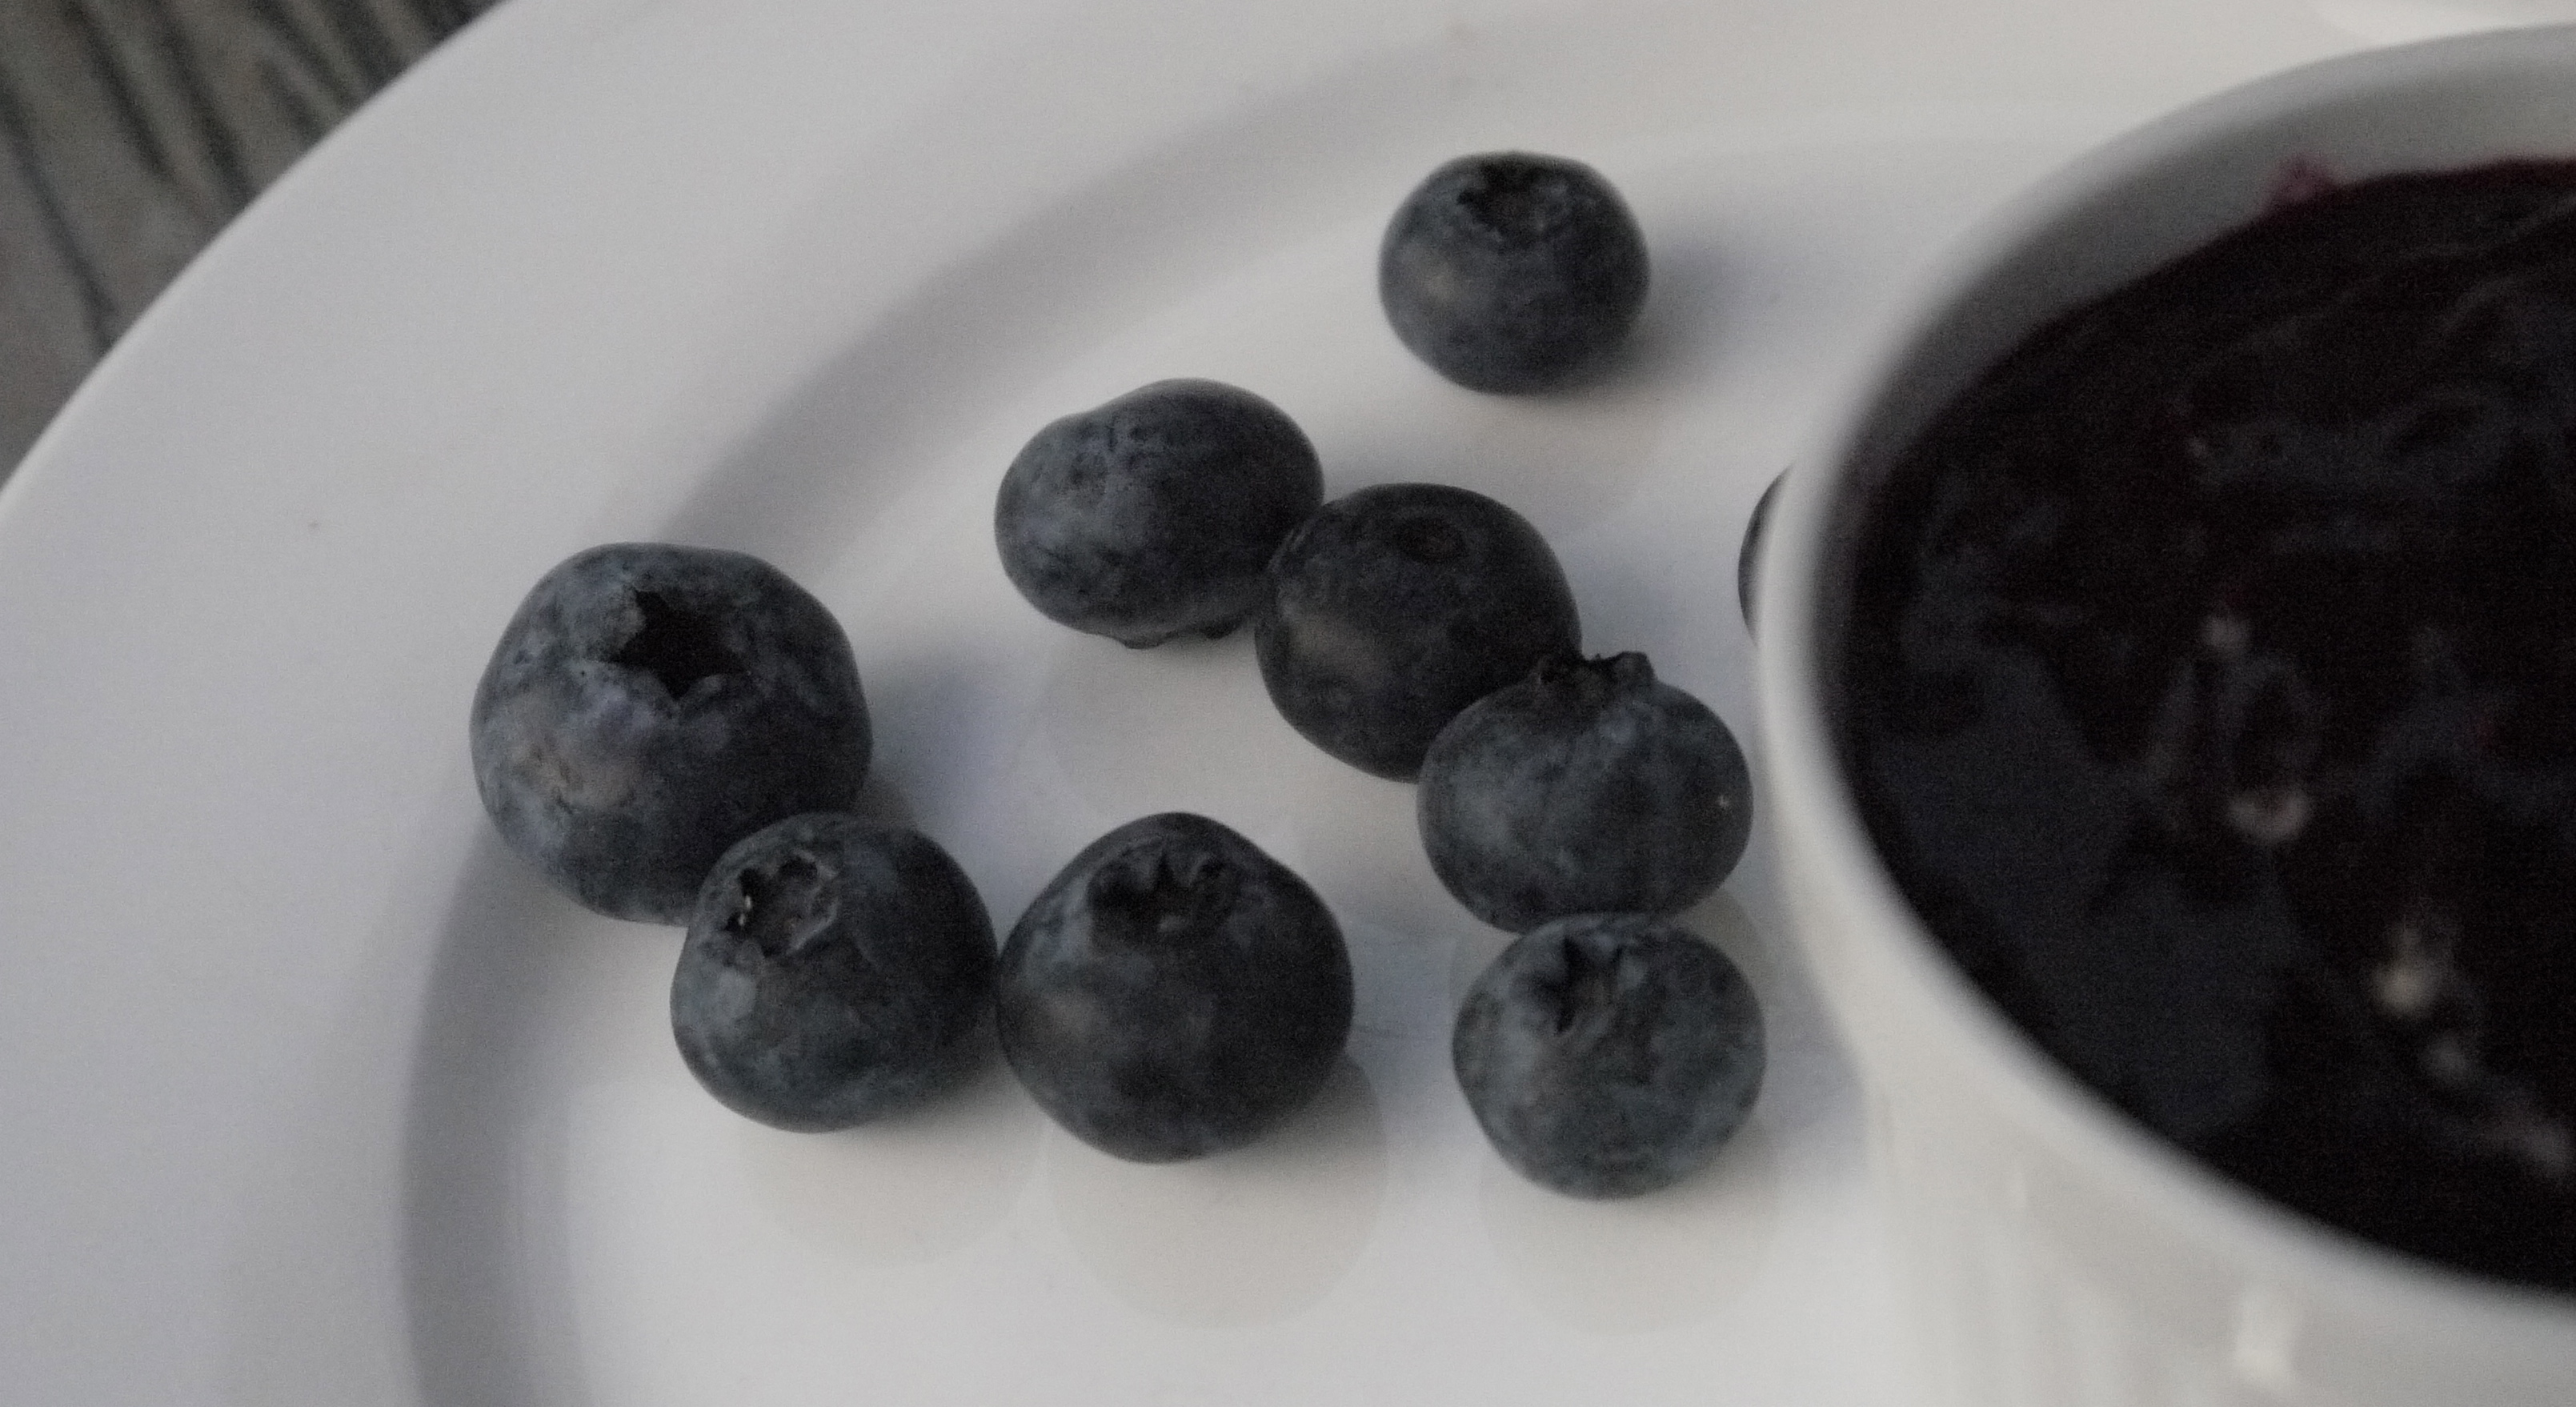
12 cups fresh blueberries
4-6 Tbsp Pure Maple Syrup or less if berries are very sweet, like at the end of the blueberry season.
4 Tbsp Chia Seeds
1 tsp Pure Vanilla Extract
In a large pot, bring the blueberries and maple syrup to a low boil. Keep stirring it frequently then reduce heat. Simmer for about 5 minutes. Lightly mash the blueberries but not too much; leave a few for texture. Stir in the chia seeds until thoroughly combined and cook the mixture down until it thickens, stirring frequently so it doesn’t stick to the pot, about 15 minutes. Once the jam is thick, remove from heat and stir in the vanilla extract. Add more maple syrup to taste if desired. Keep what you’ll use in the fridge in an airtight container for up to a week but I doubt it will last that long. Freeze the rest in small batches in freezer safe containers or ziploc bags. Then thaw to enjoy any time of year.
Makes a big batch, enough for a few one cup servings.
A friend gave me the recipe so I don’t know who to credit but I made it 3 times before modifying it to make a bigger batch. The more the better with this one.
]]>
