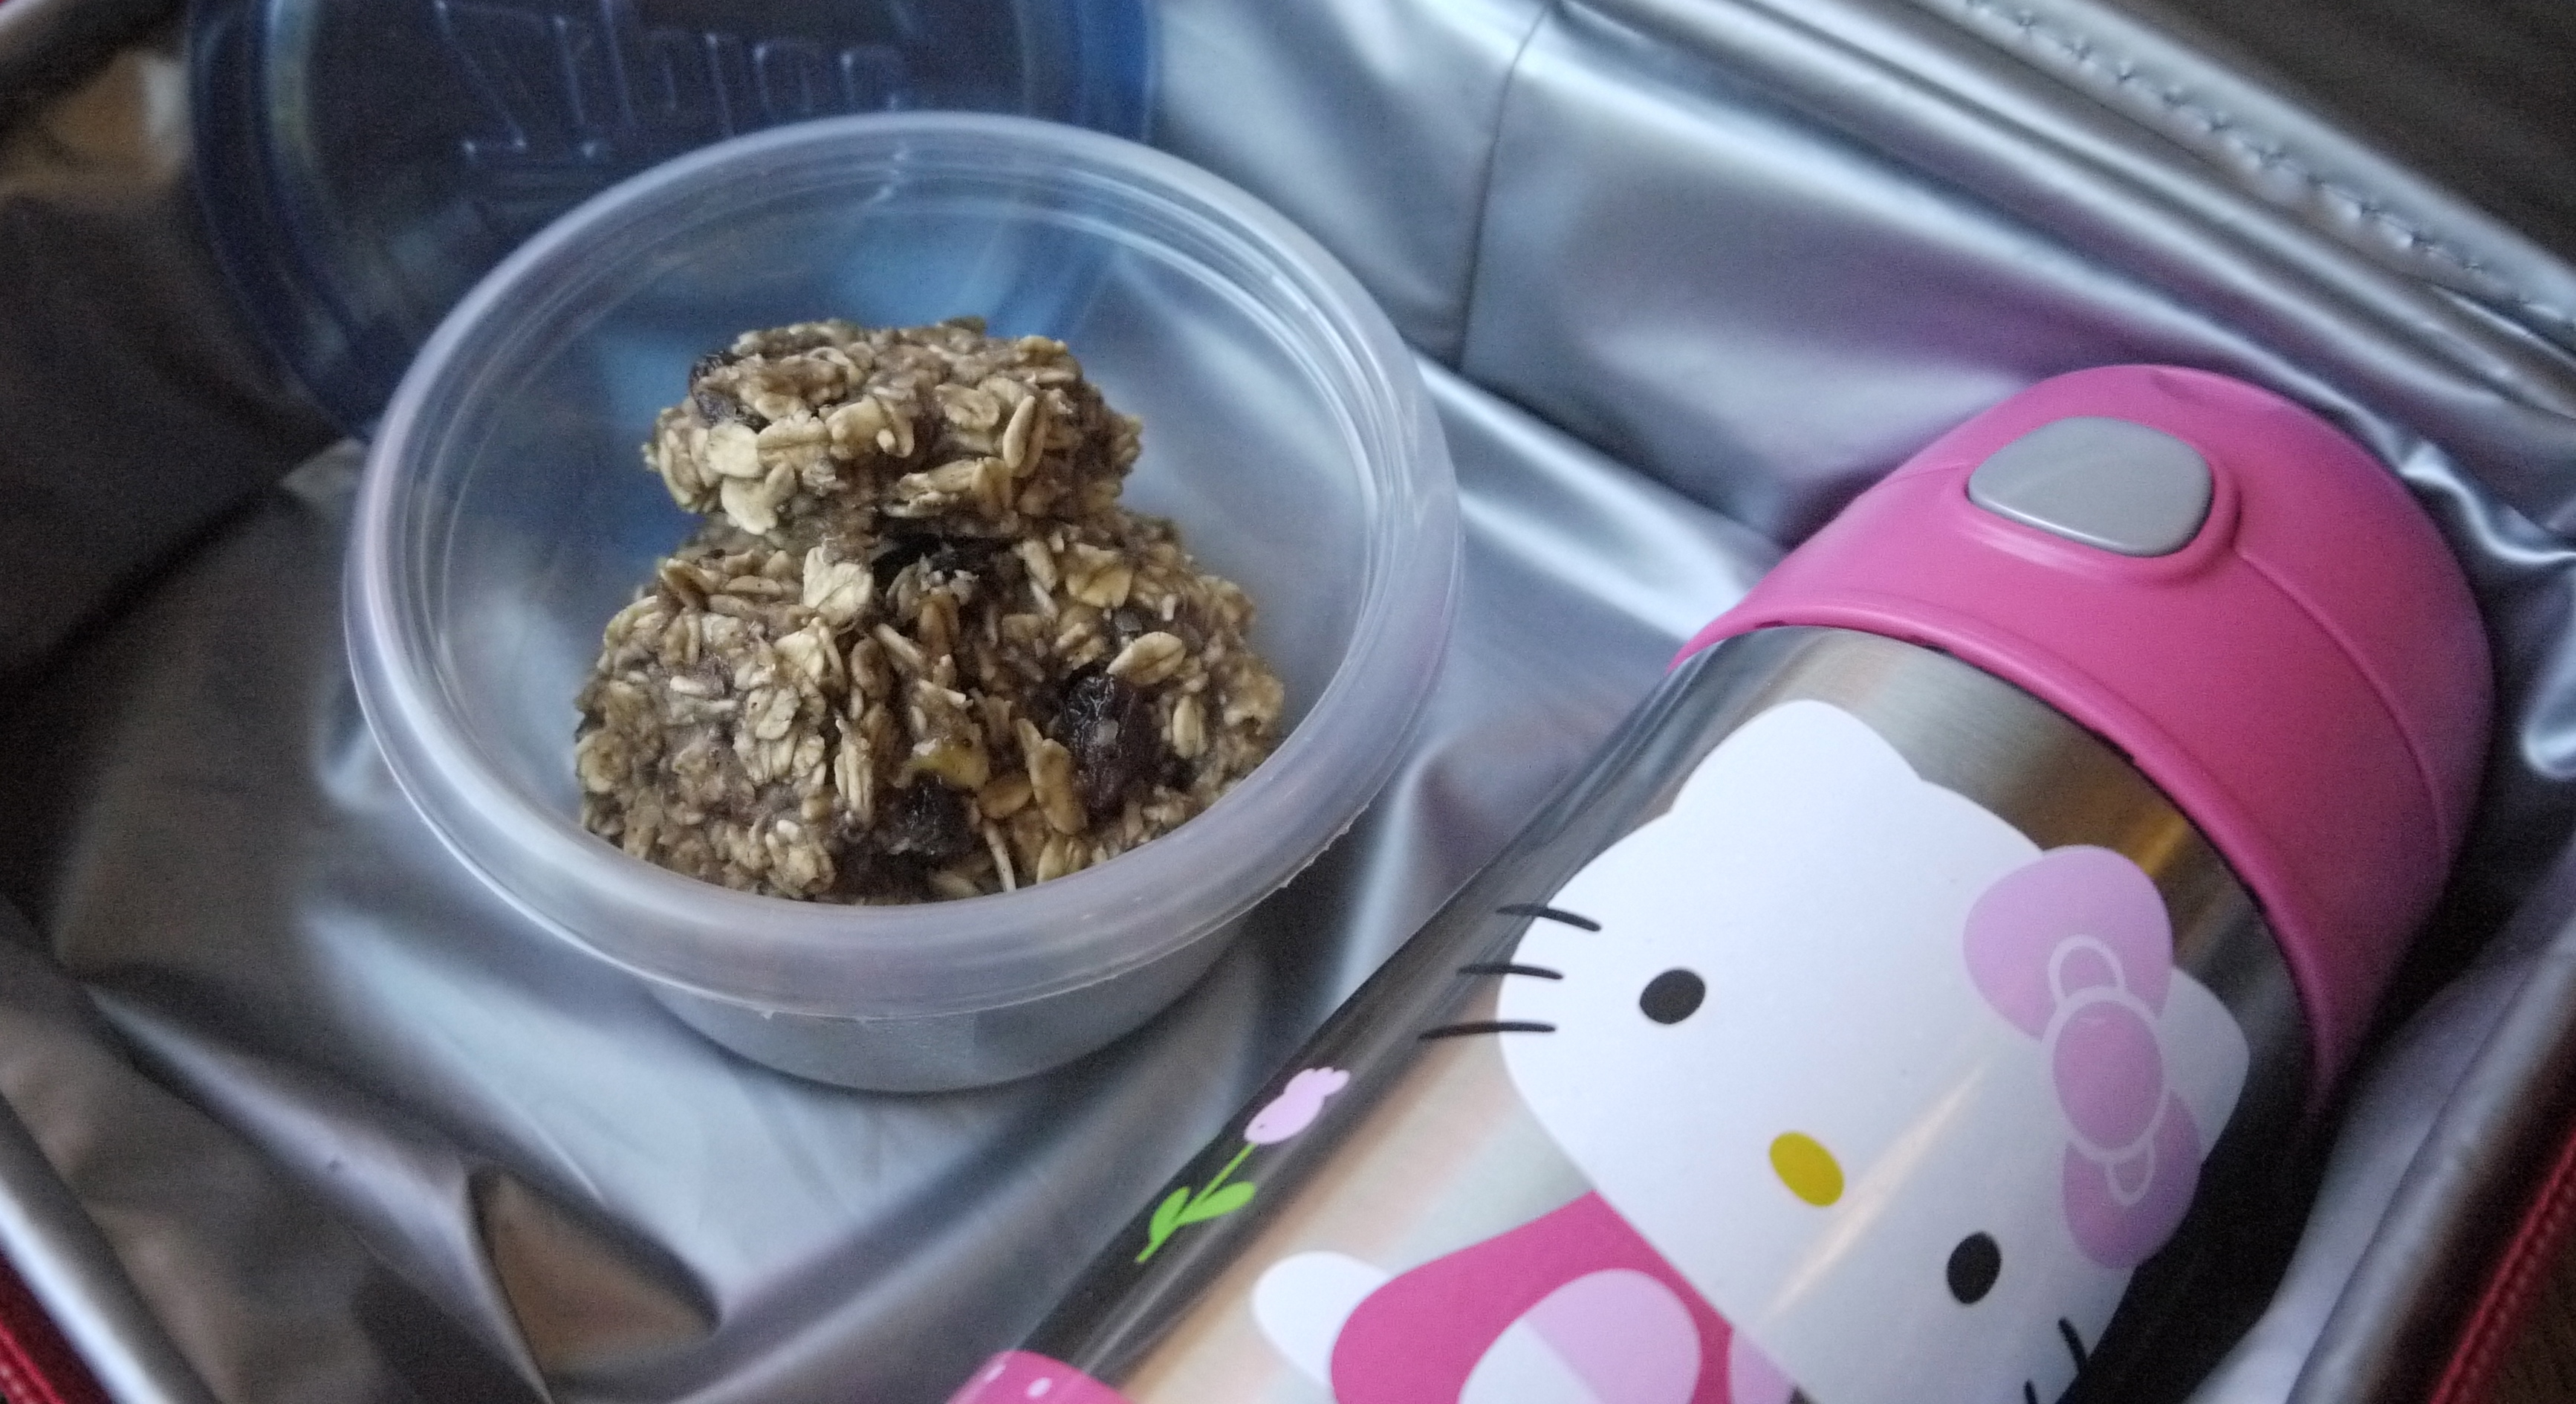
Great recess snack for your kids’ lunchbox
My daughter started kindergarten this year at a nut free school. That doesn’t mean just no peanuts- it’s ALL NUTS! Don’t get me wrong; I’m not objecting to a safe environment for kids with nut allergies. I just mean that for a family who eats a plant based diet I was surprised to find out just how many things we were eating with nuts in them. It goes beyond just PB and J sandwiches in our house- even our macaroni and cheese is made with cashews!
So, when I found this recipe I was quick to make it a staple in my kids’ lunch. Besides not containing any nuts these tasty morsels don’t contain any added sugar and are gluten free. With whole grains to keep them full until lunch, they make a great recess snack.
3 Bananas, mashed
1/3 cup Unsweetened applesauce
1/4 cup Non dairy milk (remember Almond milk is made from nuts)
1 tsp Vanilla
1 tsp Cinnamon
1/2 cup Organic raisins
2 cups Organic Rolled oats
1 Tbsp Chia seeds (optional)
1 Tbsp Hemp hearts (optional)

What they look like before being baked.
Combine all ingredients in a bowl and mix well. It will seem a bit wet but don’t worry the liquid will cook into the oatmeal. Use Tablespoon sized cookie scoop and place balls on cookie sheet covered with silicone baking mat or parchment paper. These will not spread out so put them close together. Press down lightly with a fork.
Bake at 350 for 17-20 mins.
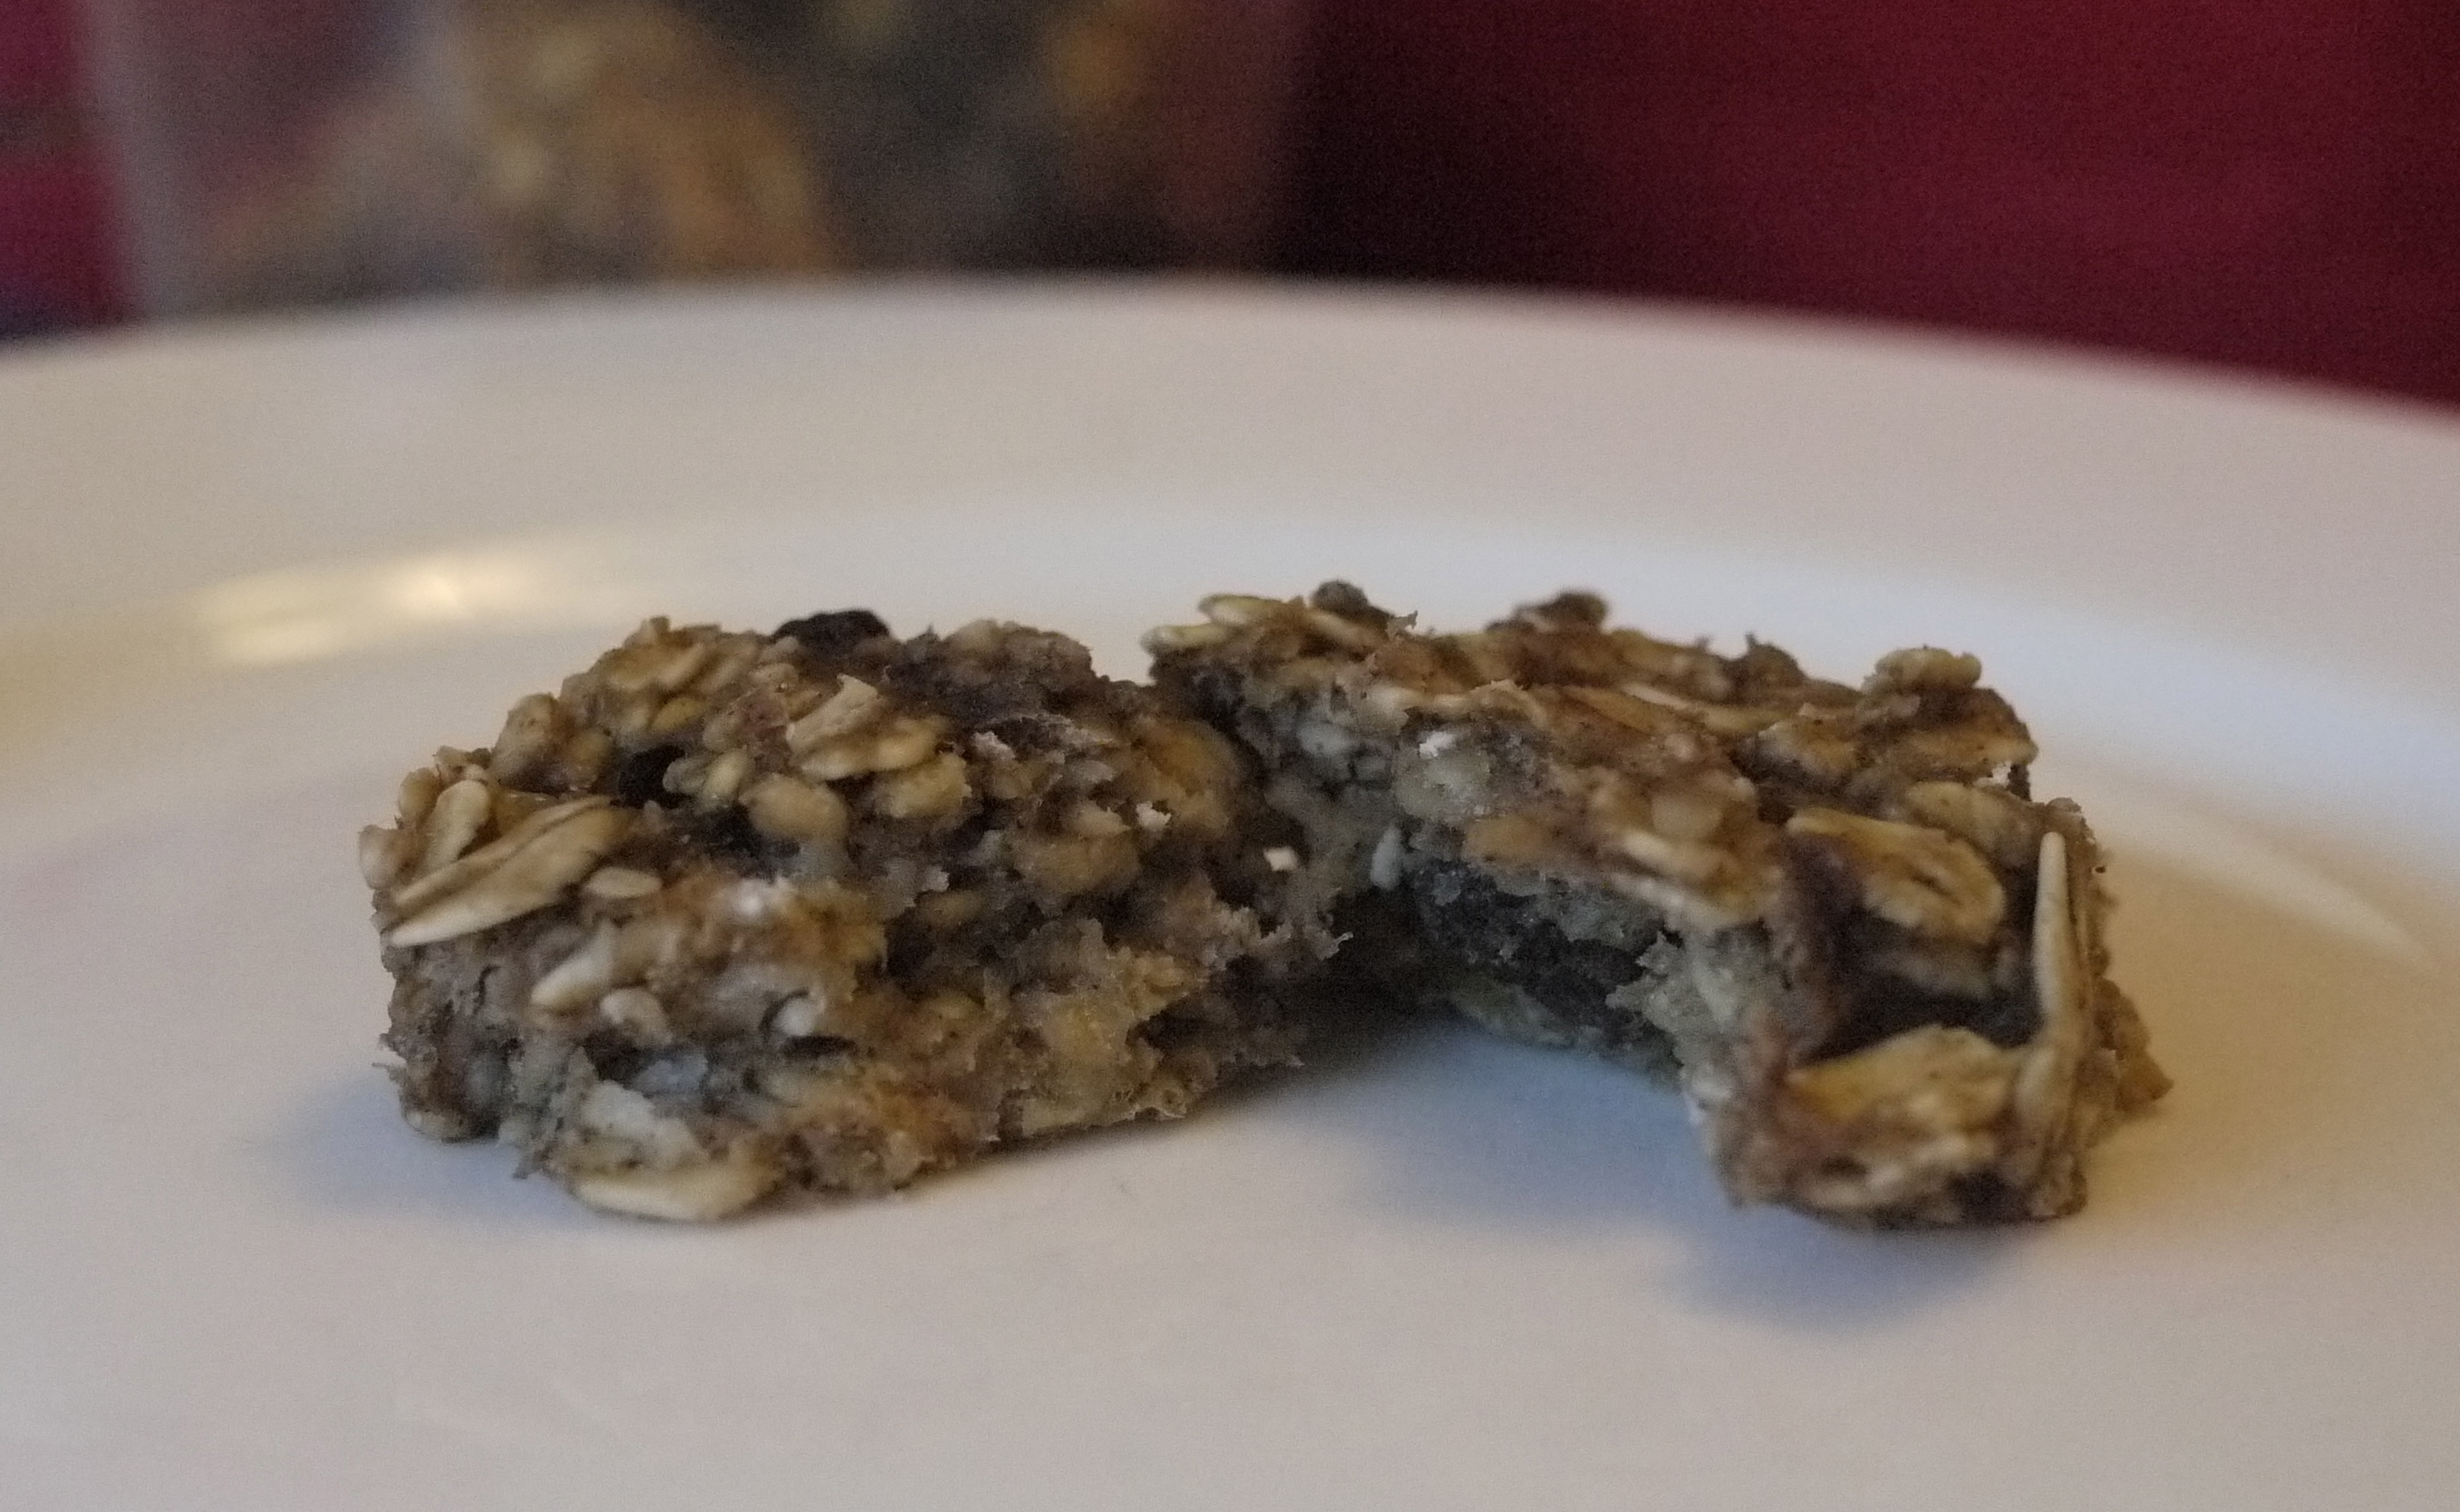
Ta Da! All finished. Kids love them, and grown ups too.


Quesadilla with all the taste of pizza.
Whenever we eat pizza I find my kids picking off certain toppings that they think they don’t like. This one doesn’t like tomatoes or mushrooms or whatever they decide that day. What if you could hide all those healthy veggies inside the pizza somehow so they wouldn’t even know they’re eating it? Problem solved, right?
Introducing the pizzadilla! It’s a quesadilla but with all the taste of pizza.
These are also great because you can customize the ingredients to your liking and use what you have on hand. They also take a fraction of the time it takes to make your own pizza crust thus making this an easy weeknight meal.
1 package of whole wheat or whole grain tortillas (use brown rice tortillas for GF version)
1 small can pizza sauce or 1/2 a large can and freeze the rest for next time. I like Eden brand. No GMO’s.
Toppings:
Diced green and red peppers
Sliced mushrooms
Diced onions
Sliced Tofurky sausage; I used the keilbassa kind, or your choice of fake meat (optional)
Other topping ideas include pineapple tidbits, tomatoes or jalapeños
Daiya Cheese Shreds; I used a mix of Mozzarella and Cheddar
Spread a thin layer of pizza sauce on half the tortilla. Then layer your toppings and cheese shreds on the sauce so when it melts the cheese causes it to stick together. Fold the empty tortilla side on top of the side with toppings. Next, lay them in a med-high heat frying pan or I used a flat top grill at 350 degrees. I didn’t use any oil, it’s not needed. Flip over after a few minutes to brown both sides. I like using this method rather than baking them in the oven because I find it browns the tortilla better. The oven makes them a bit soggy. I do like my pizza crust a little crispy 
Remove from the pan and let sit a few minutes on a cutting board. This lets the veg and cheese set a bit. Cut into triangles with a pizza cutter and serve with a salad or your choice of side. Enjoy!
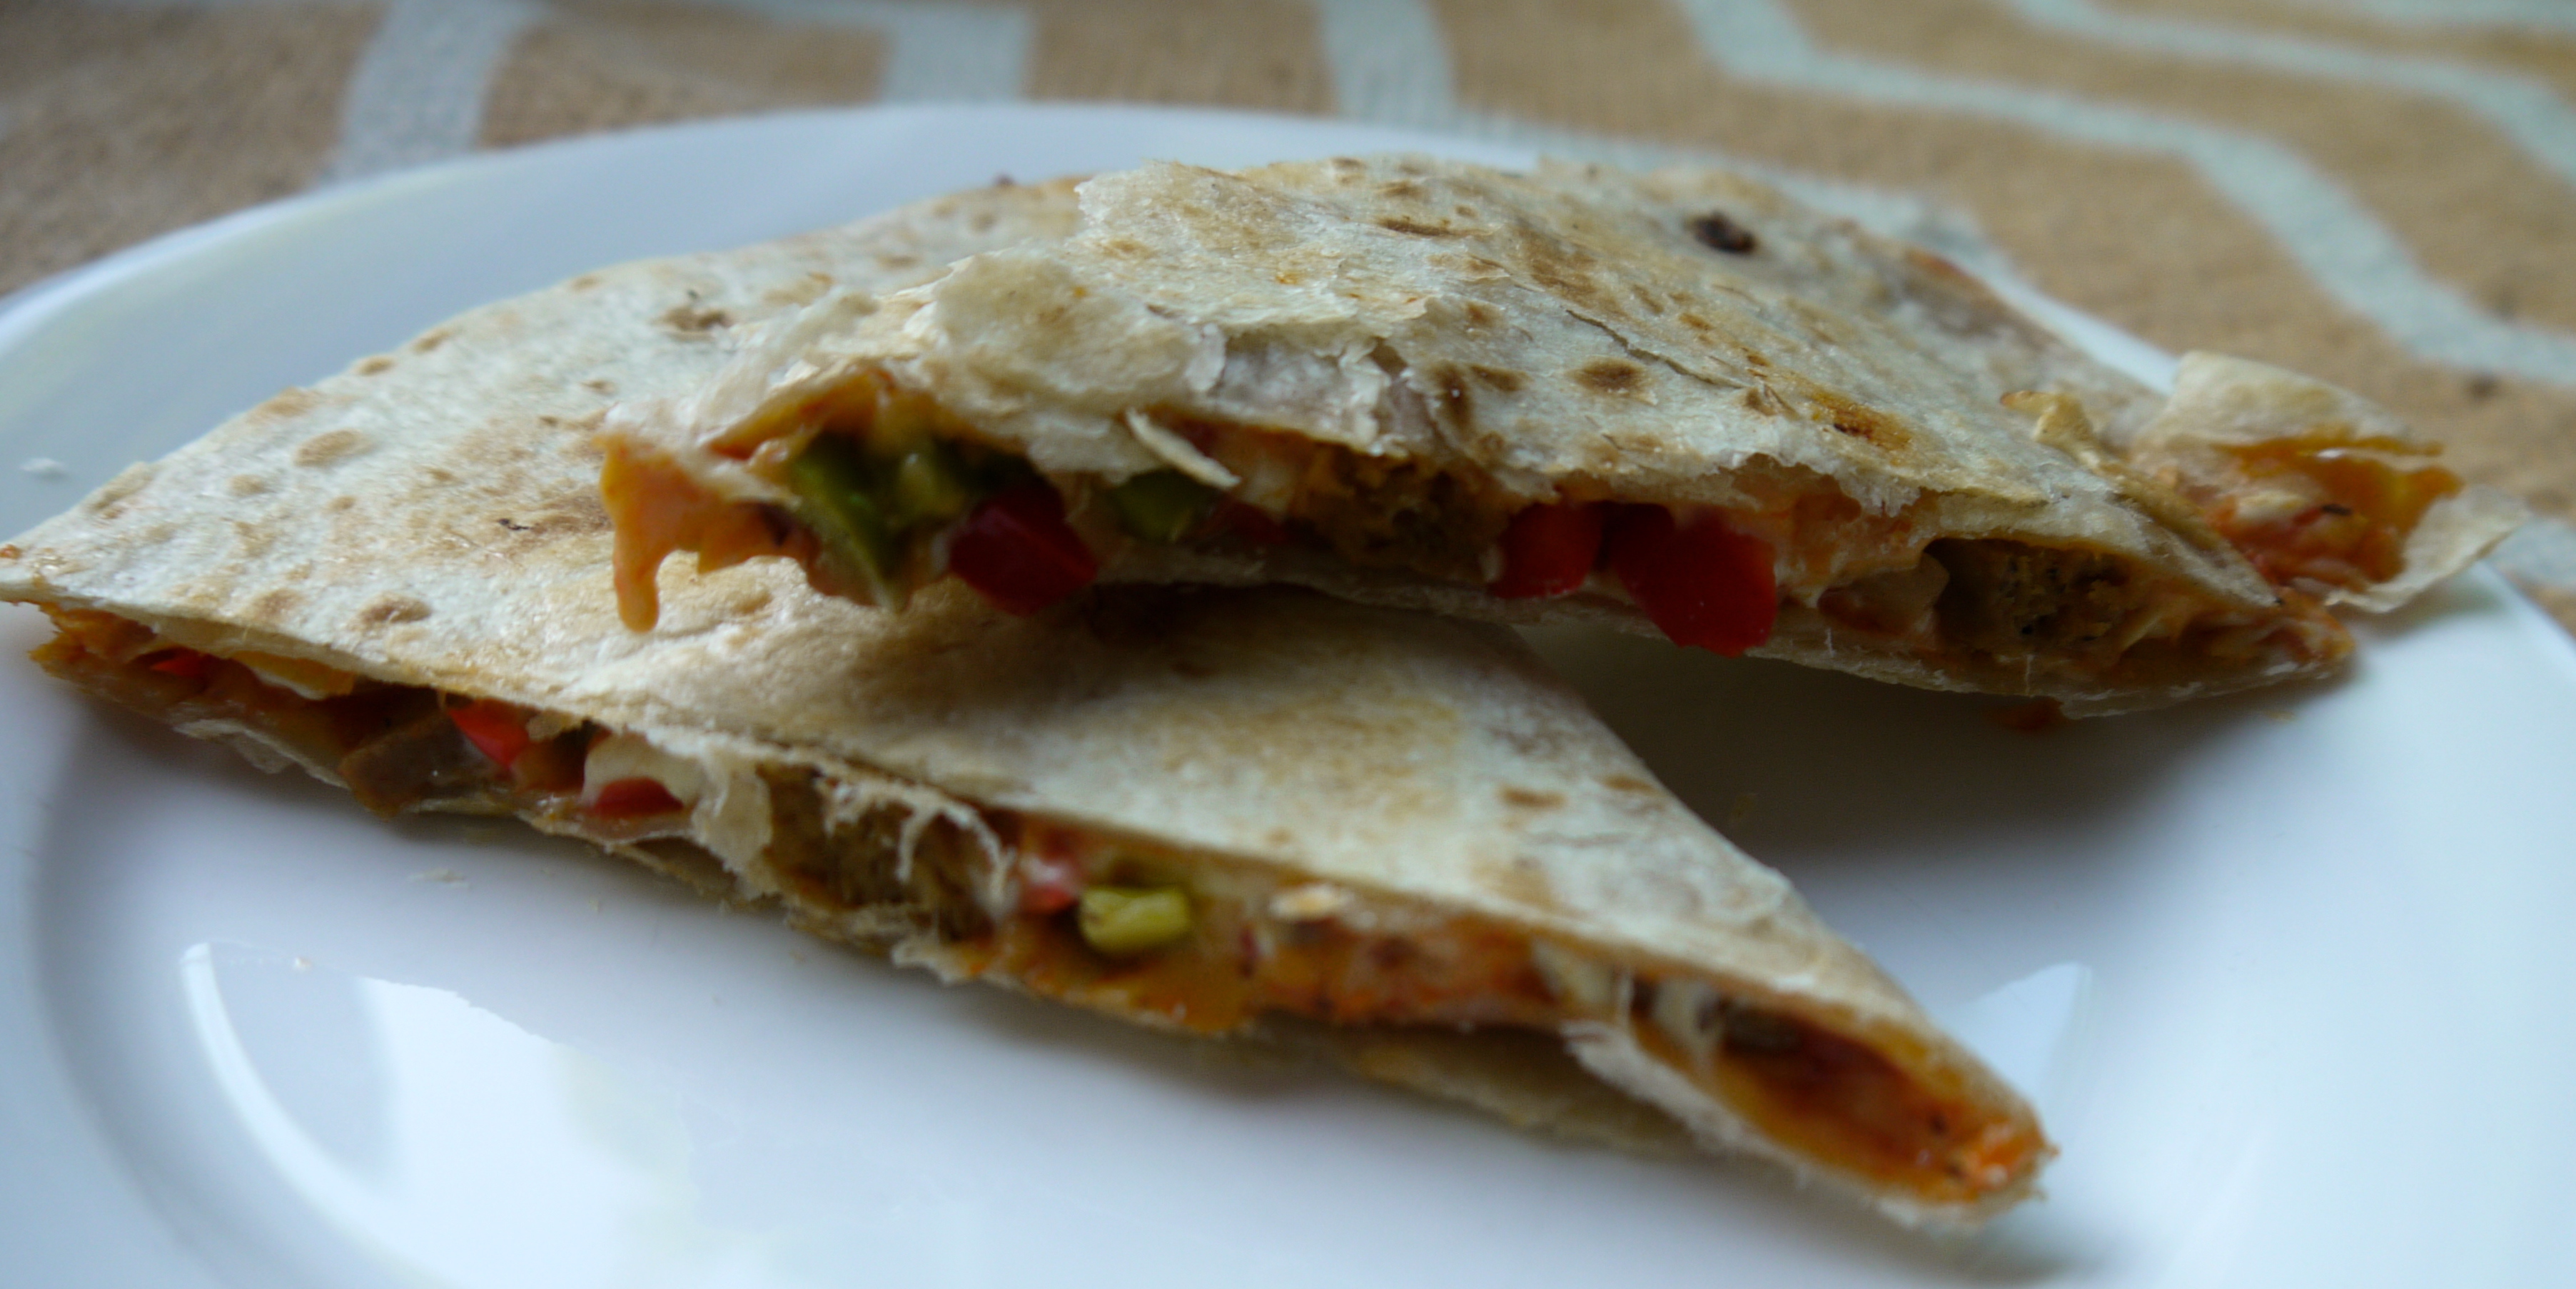
Easy weeknight meal the kids will love.
]]>

I’ve adapted this recipe from one I used to use (before I went vegan) that had tons of refined sugar and animal products in it. My new version is much healthier but still retains the same taste and texture as the original.

Healthy and delicious. Great way to use up all that zucchini!
1/4 cup melted coconut oil
1/2 cup unsweetened applesauce
2 flax eggs (2 Tbsp ground flaxseed mixed with 5 Tbsp warm water, let sit for 5 mins)
1 tsp vanilla extract
1 tsp apple cider vinegar
1/2 cup non dairy milk of your choice
1-1 1/2 cups coconut sugar (depending how sweet you like it)
2 1/2 cups spelt flour
1/4 cup cocoa powder
1/2 tsp baking powder
1 tsp baking soda
1/2 tsp cinnamon
1/2 tsp ground cloves
2 cups grated zucchini
1/4 cups chocolate chips (optional)
Combine wet ingredients in a bowl. Whisk together dry ingredients in another bowl. Add wet ingredients to dry and stir well to combine. Fold in zucchini and chocolate chips, if using.
Pour in a 9×13 glass dish. You can grease lightly with coconut oil or line with parchment paper. Bake at 350 F for 35-40 mins. Until toothpick comes out clean.
I don’t see why this couldn’t be used to make muffins if you prefer. Just adjust the baking time. Probably around 20-25 mins.
]]>
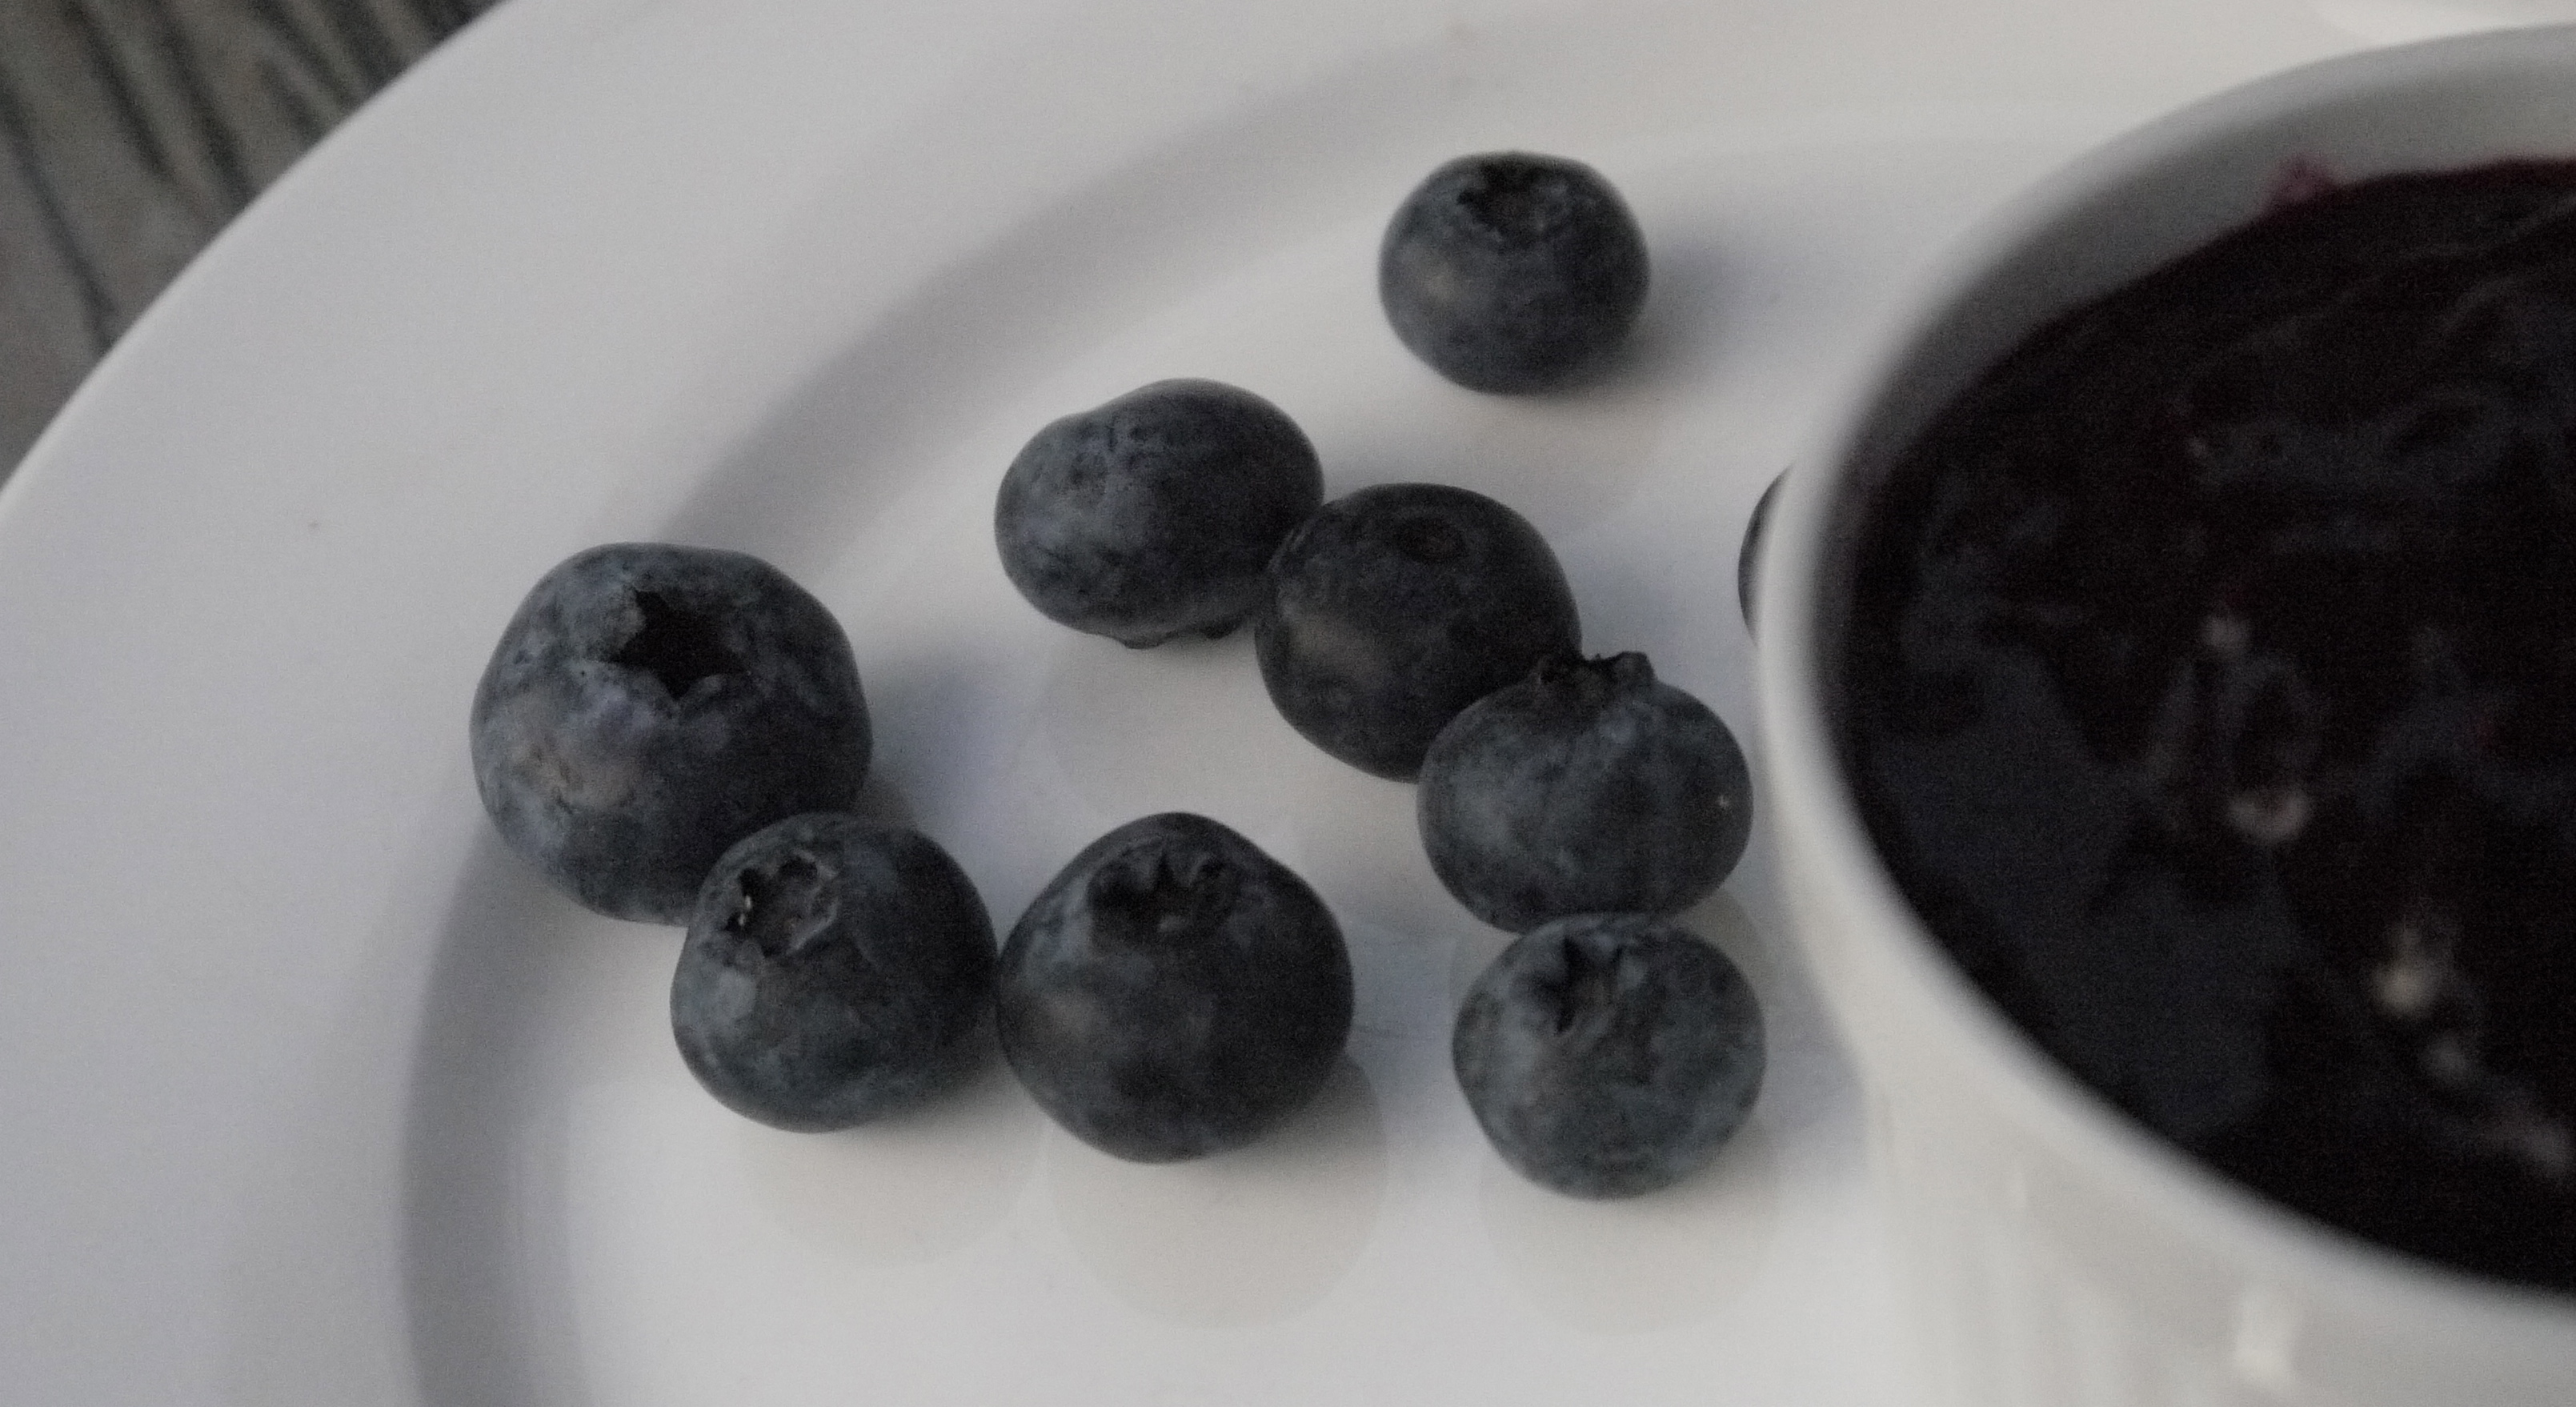
This is the best jam I’ve ever tasted! The best part is it doesn’t have any of those additives or a ton of sugar. You can literally put it on anything. I slathered it on toast, pancakes and even stirred it into my oatmeal. It’s great in PB and [...]]]>
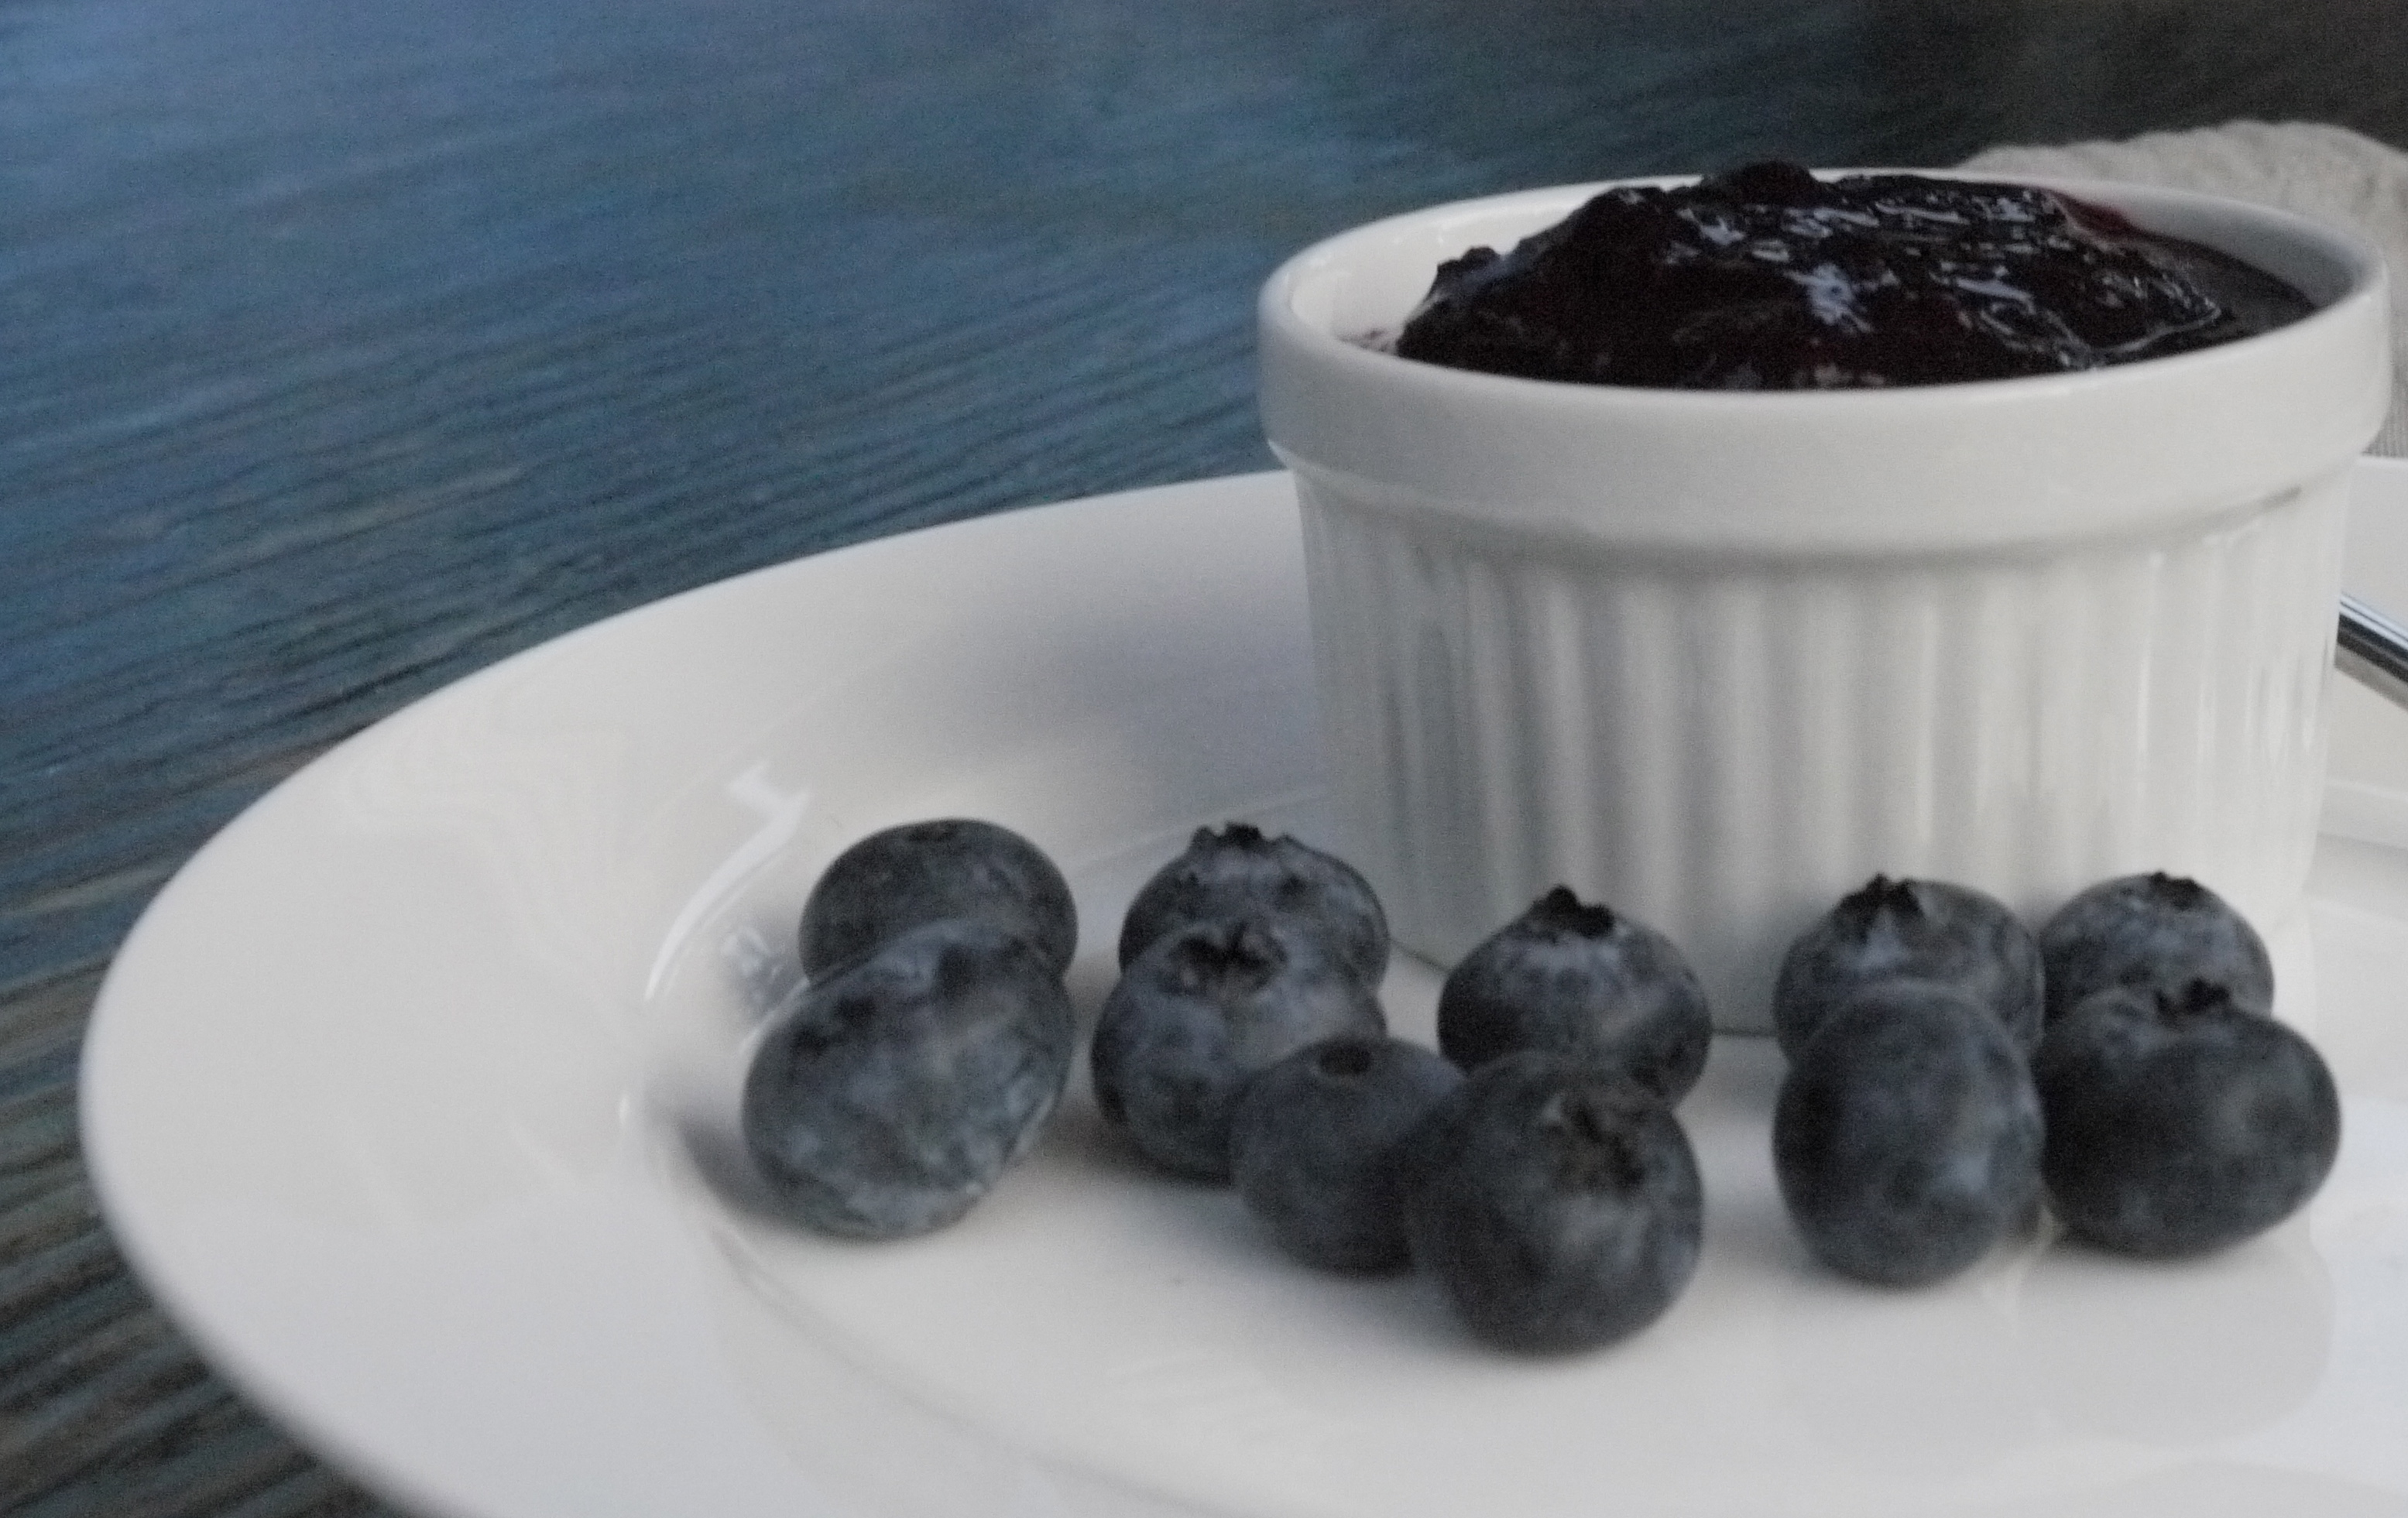
This is the best jam I’ve ever tasted! The best part is it doesn’t have any of those additives or a ton of sugar. You can literally put it on anything. I slathered it on toast, pancakes and even stirred it into my oatmeal. It’s great in PB and J sandwiches too. The kids love it!
12 cups fresh blueberries
4-6 Tbsp Pure Maple Syrup or less if berries are very sweet, like at the end of the blueberry season.
4 Tbsp Chia Seeds
1 tsp Pure Vanilla Extract
In a large pot, bring the blueberries and maple syrup to a low boil. Keep stirring it frequently then reduce heat. Simmer for about 5 minutes. Lightly mash the blueberries but not too much; leave a few for texture. Stir in the chia seeds until thoroughly combined and cook the mixture down until it thickens, stirring frequently so it doesn’t stick to the pot, about 15 minutes. Once the jam is thick, remove from heat and stir in the vanilla extract. Add more maple syrup to taste if desired. Keep what you’ll use in the fridge in an airtight container for up to a week but I doubt it will last that long. Freeze the rest in small batches in freezer safe containers or ziploc bags. Then thaw to enjoy any time of year.
Makes a big batch, enough for a few one cup servings.
A friend gave me the recipe so I don’t know who to credit but I made it 3 times before modifying it to make a bigger batch. The more the better with this one.
]]>
